


No products in the cart.
NEWS
Grow Your Own Cherry Tree from Seed: An Expert Guide
If you love the taste of fresh cherries, you might have wondered if you could grow your own tree right from the pit. As a gardening expert at Biogarden.asia, I’m here to tell you that while the journey from a humble cherry pit to a mature tree is an adventure, it’s absolutely possible! It requires a bit of patience and understanding of plant science, but the reward of nurturing a tree from the very beginning is immense. Let’s explore the steps involved in transforming that little pit into a potential tree.
Can a Cherry Pit Really Grow a Tree?
Yes, you absolutely can start growing a tree by planting a cherry pit. This tiny kernel contains the genetic material needed to sprout into a new plant. However, there’s a significant point to understand before you begin dreaming of harvests identical to the fruit you just enjoyed.
Why Seed-Grown Trees Are Different
When you eat a cherry from a commercially grown tree, that tree is often the result of grafting. This is a technique where a piece (scion) from a desirable cherry variety (one that produces delicious fruit) is attached to the rootstock of a hardy, disease-resistant tree. The resulting tree combines the best traits of both.
A seed, however, is the product of pollination – a mix of the “mother” tree’s genetics (where the fruit grew) and the “father” tree’s pollen. This means the tree grown from that seed will be a genetic hybrid. It will likely not produce fruit exactly like the parent cherry you ate. The fruit could be smaller, less sweet, or have a different flavor entirely.
If your goal is to replicate a specific, favorite cherry variety, growing from seed isn’t the reliable method; grafting is needed for that. But if you’re excited by the process of growing, the surprise of what the new tree might produce, or simply enjoy the act of nurturing life from a seed, then growing from a pit is a truly rewarding endeavor!
Your Step-by-Step Guide to Growing from Seed
Ready to embark on this propagation adventure? Here’s how to guide that cherry pit towards becoming a tree:
Choose Your Seeds
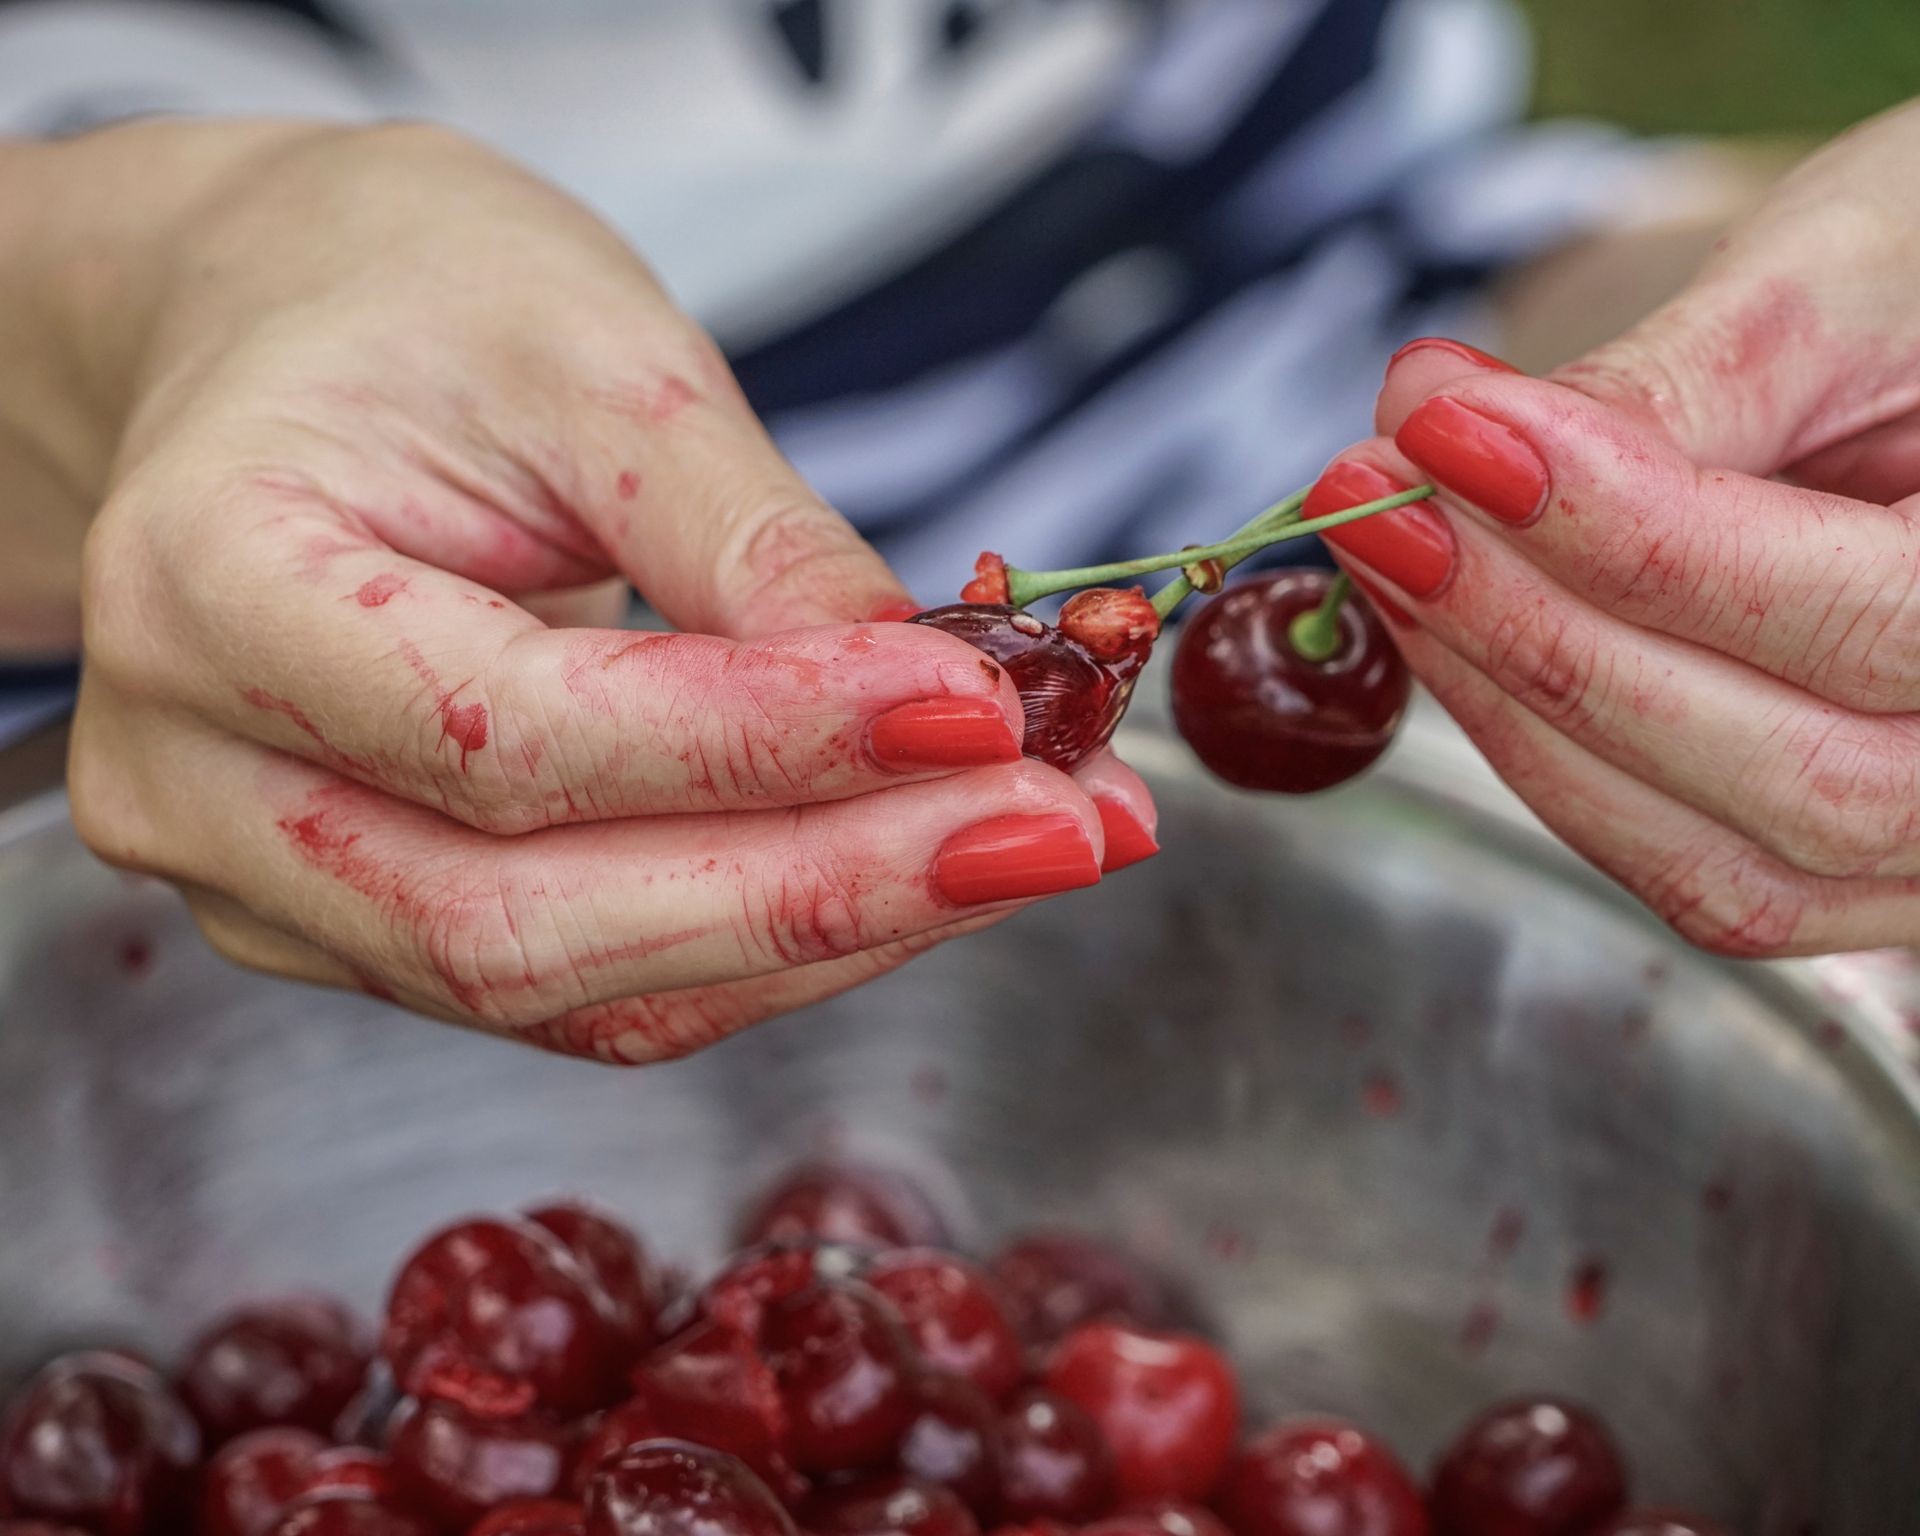
First, gather your pits! Enjoy some ripe cherries, ideally from a local source like a farmer’s market or a friend’s tree if possible, as pits from some supermarket cherries might be less viable due to handling or processing.
Once you’ve eaten the fruit, gently clean the pits. Place them in a bowl of warm water for about five minutes, then lightly scrub away any remaining fruit clinging to the pit. This prevents mold. Spread the clean pits on a paper towel in a warm spot away from direct sunlight for three to five days to allow them to dry thoroughly. Once dry, store them in a plastic bag or glass jar with a tight lid, perhaps labeled with the date or cherry type if you know it.
 Gardener cleaning cherry pits after soaking, preparing them for drying and stratification.
The Stratification Secret
Cherry pits, like many temperate tree seeds, need a period of cold before they will sprout. This process is called stratification, and it mimics the natural winter chilling period the seed would experience outdoors. To artificially stratify your pits, mix them with a moist medium like peat moss or sand in their container. The medium should be damp, not soaking wet.
Place the sealed container in your refrigerator for about 10 weeks. It’s important to keep them away from fruits like apples or bananas, which release ethylene gas that can inhibit germination. Different cherry varieties may have slightly different stratification needs, but 10 weeks is a good general timeframe. This cold treatment breaks the seed’s dormancy, preparing it for germination.
Bringing Seeds to Life (Germination)
After the stratification period is complete, your seeds are ready to sprout. Prepare small pots or seedling trays with a quality potting mix. Plant several pits in each container to increase your chances of success. Place the containers in a sunny location and keep the soil consistently moist, but never waterlogged. Within a few weeks to months, you should start to see tiny seedlings emerge!
Nurturing Young Seedlings (Thinning)
Once your cherry seedlings reach about 2 inches (5 cm) tall, it’s time to select the strongest one in each pot. This process is called thinning. Carefully snip or gently pull out the weaker seedlings, leaving only the most vigorous plant to continue growing in the container. This gives the chosen seedling the best chance to develop a strong root system and healthy growth.
Finding Their Forever Home (Transplanting)
What happens next depends on where you live and your space. Most common cherry varieties thrive in USDA hardiness zones 5 to 9, though this can vary. If your region is suitable and you have the space, you can plan to transplant your cherry seedling outdoors.
Wait until any risk of frost has passed and your seedling is robust, ideally 8 to 12 inches (20-31 cm) tall. Choose a sunny spot with well-drained soil. When planting outdoors, space multiple trees at least 20 feet (6 meters) apart to allow for future growth. Mulch around the base to help retain moisture and suppress weeds.
If outdoor space is limited or your climate isn’t ideal, don’t worry! Many gardeners successfully grow cherry trees in pots, especially dwarf varieties. Simply transplant your seedling into a larger container filled with good potting mix and place it in a sunny location. Ensure the pot has adequate drainage.
The Reward of Growth
Growing a cherry tree from seed is a journey filled with learning and anticipation. From the simple act of saving a pit to watching the first leaves unfurl, you’re participating in the miracle of nature. While the wait for fruit can be several years, the satisfaction of nurturing a tree from its very beginning is a unique joy.
We hope this guide inspires you to give it a try! At Biogarden.asia, we’re passionate about helping you succeed in your gardening endeavors. If you need quality potting mix or supplies for your seedlings, explore the options available on Biogarden.asia. Happy planting!