


No products in the cart.
NEWS
Cultivating Success: Your Guide to Growing Potatoes from Store-Bought Spuds
Many home gardeners start their potato patch using certified seed potatoes, which are carefully selected small tubers grown specifically for planting. These are readily available in various desirable varieties. However, you might find yourself with a favourite potato from the grocery store and wonder if you can replicate that taste and texture in your own garden. The good news is, yes, you absolutely can grow potatoes from those familiar store-bought spuds. As experienced cultivators at Biogarden.Asia, we know this can be a rewarding experiment, especially for beginners or those with limited space using container gardening methods.
Can You Really Grow Potatoes From Store-Bought Spuds?
Potatoes possess growth points known as “eyes” – those small bumps or indentations on the tuber’s surface. Each eye holds the potential to sprout and develop into a new potato plant. To increase your chances of successful growth, select tubers that have at least one or two visible eyes, though having more is always beneficial. While growing from certified seed potatoes is generally recommended due to their disease-resistance and suitability for planting, cultivating from a grocery store potato is certainly possible. When choosing a store-bought spud, look for ones that are firm, free from blemishes, soft spots, or signs of decay. Potatoes with a little dirt on them can sometimes indicate they haven’t been washed extensively, which can help preserve their freshness. Since you don’t know the harvest history or potential disease exposure of a store-bought potato, planting them in containers is a wise precaution. This helps isolate them and prevents the potential introduction of soil-borne diseases to your main garden beds, especially if you grow other susceptible nightshade plants like tomatoes, peppers, or eggplants.
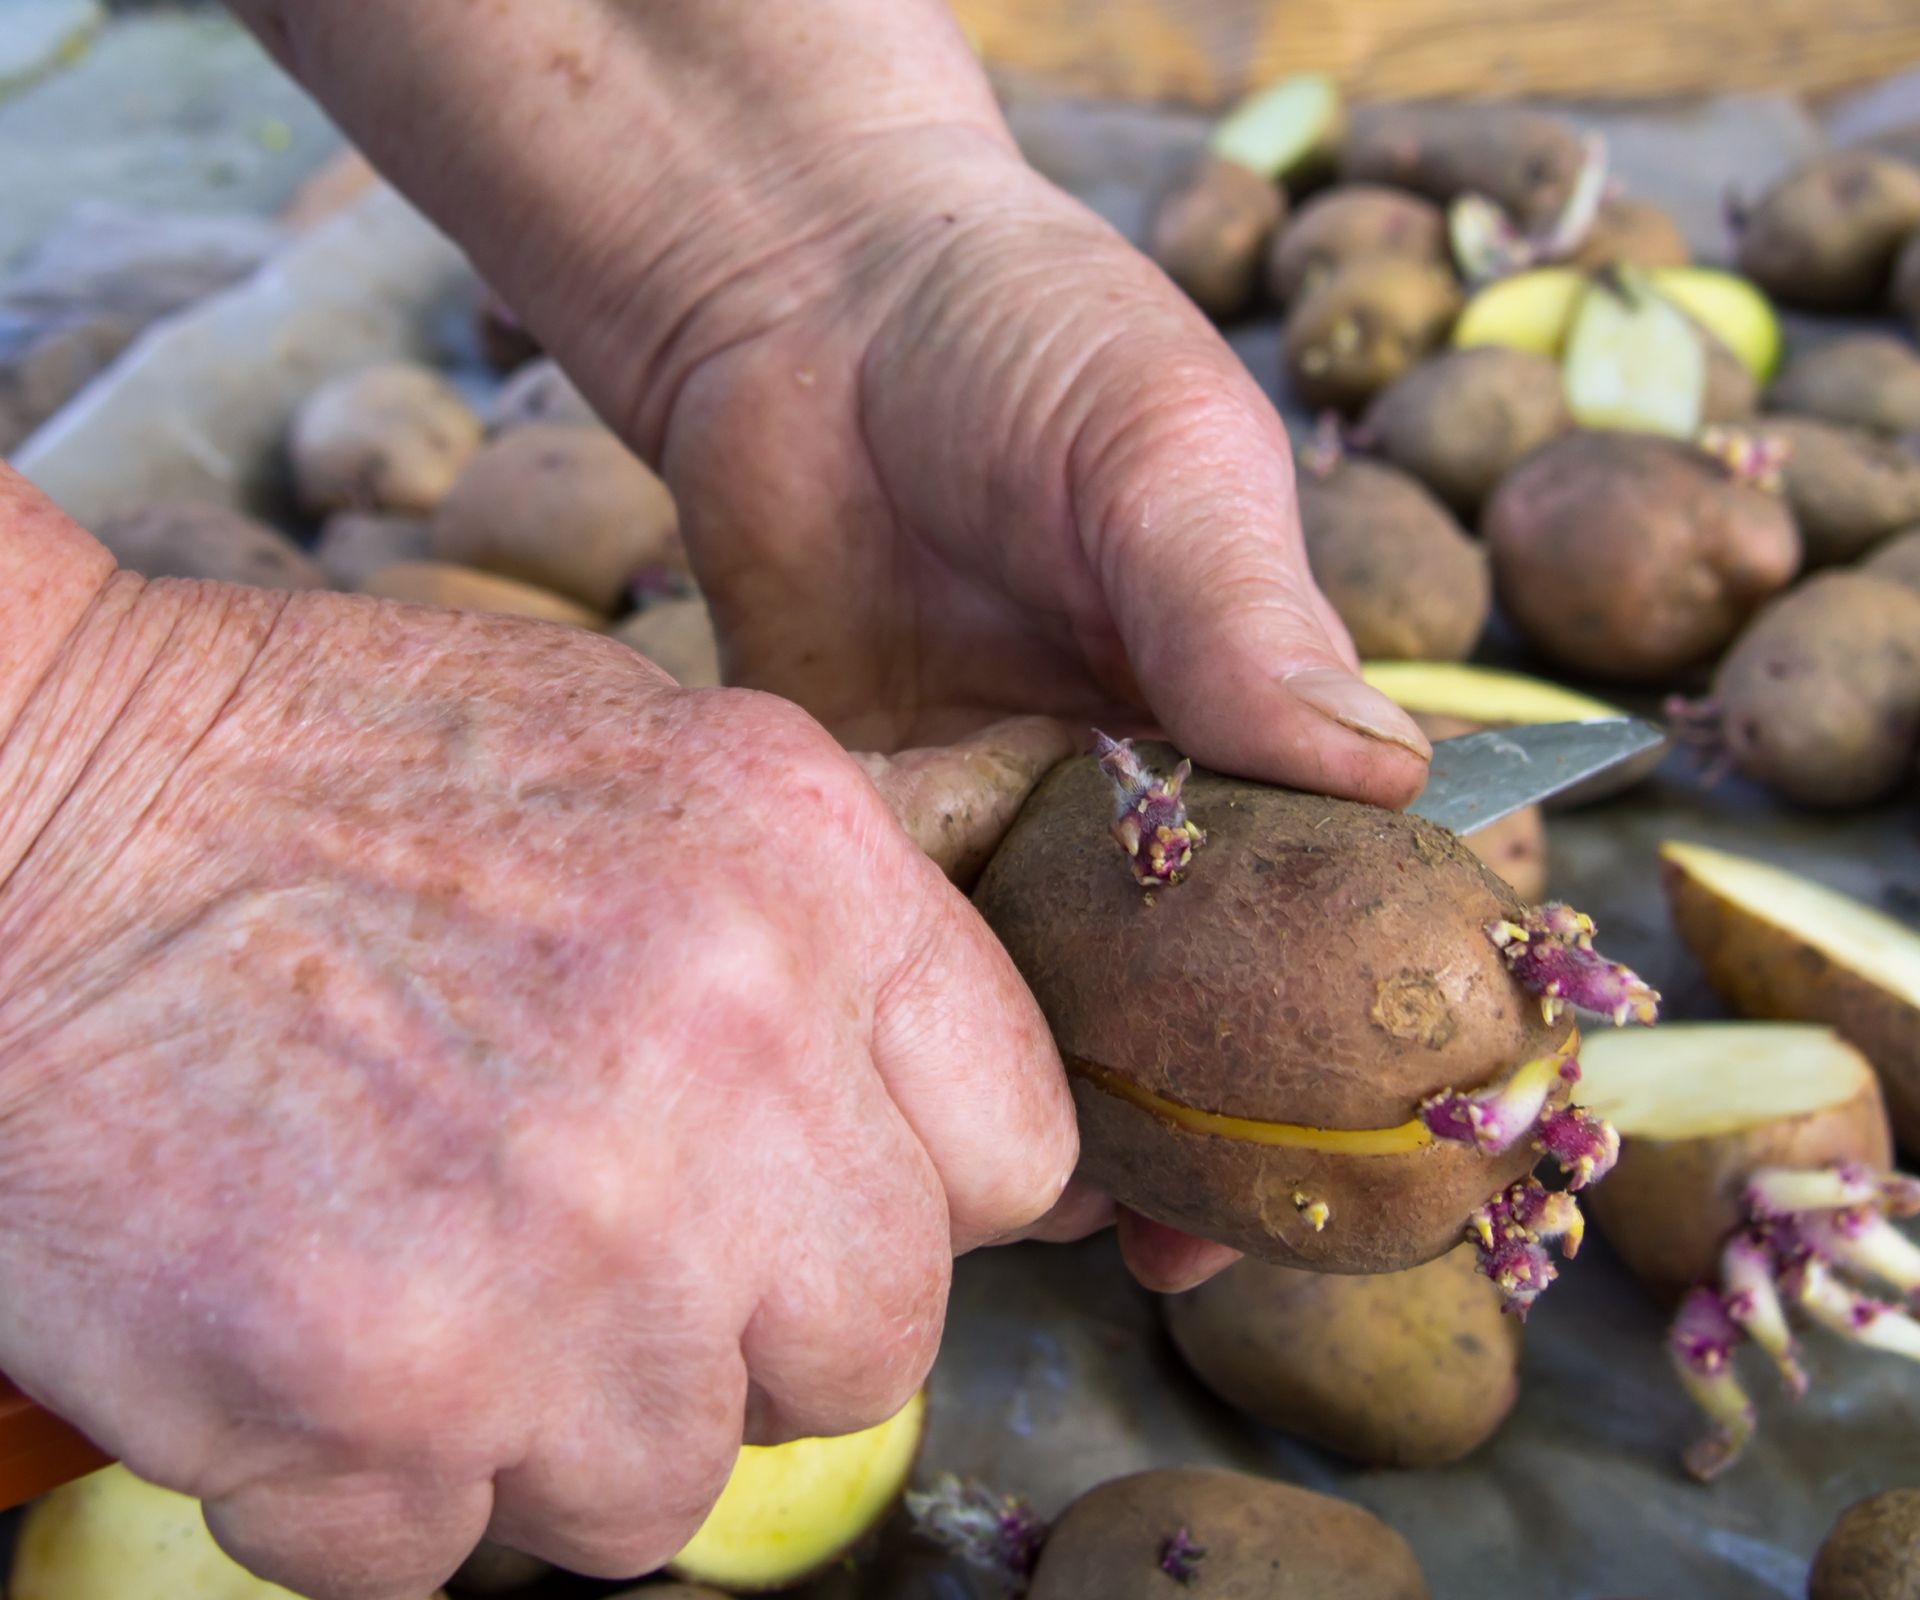 Gardener carefully cutting sprouted potato tuber into pieces for planting
Selecting and Preparing Your Grocery Store Potatoes
Choosing the right potato is the first step. Avoid any that are significantly wrinkled, soft, or show signs of mold or disease. While washing isn’t strictly necessary when using standard seed potatoes (as dirt helps keep them fresh), giving store-bought spuds a gentle wash can help remove any surface contaminants they might have picked up.
Preparation Steps
- Using a clean, sharp knife, cut the potato into pieces. Each piece should be roughly egg-sized and contain at least one healthy-looking eye. Sharp cuts minimize damage to the tuber tissue. Ensure your knife is clean to avoid introducing pathogens. Very small potatoes (about the size of a golf ball or smaller) can often be planted whole if they have eyes.
- After cutting, lay the pieces out on a tray or newspaper in a well-ventilated area away from direct sunlight. Allow them to dry and “callus over” for about 2 to 3 days. This drying period forms a protective layer over the cut surface, significantly reducing the risk of rot once planted.
Planting Your Potato Pieces
Soil quality is paramount for healthy potato growth. Potatoes thrive in well-draining, loose soil with a slightly acidic pH (ideally between 5.0 and 5.2, although they tolerate a slightly wider range). A good mix for container planting is typically equal parts quality potting mix and well-rotted compost. If planting directly into the ground, ensure the soil is well-loosened and amended generously with compost to improve structure and fertility.
Planting Process
- For in-ground planting, dig a trench approximately 6 to 8 inches deep. For container planting, fill the bottom of your pot with about 3 to 4 inches of your prepared soil mix.
- Place the prepared potato pieces (cut side down or sideways) in the trench or container, ensuring the eyes are facing upwards. Space the pieces at least 10 to 12 inches apart if planting in the ground to allow room for growth. In a large container, space them appropriately based on the pot size, allowing adequate room between pieces.
- Gently cover the potato pieces with about 3 to 4 inches of soil.
- Water the soil lightly but thoroughly after planting. The soil should be evenly moist but not waterlogged.
- As the shoots emerge from the soil (this usually takes a couple of weeks), begin the process known as “hilling.” Add more soil around the base of the emerging plant, covering most of the shoot and leaving just the top leaves exposed. Repeat this hilling process as the plant grows, adding soil every few inches of vertical growth until the trench is filled or the container is nearly full. Hilling encourages the plant to produce more tubers along the buried stem and protects developing potatoes from sunlight (which turns them green and toxic).
- Watering needs vary. Keep the soil moderately moist during the early stages of growth. The most critical period for watering is when the plants begin to flower, which is when the tubers start to significantly develop. Ensure they receive adequate moisture during this time, roughly equivalent to about 1 inch of water per week, adjusting for rainfall and temperature. As the foliage matures and begins to yellow, you can gradually reduce watering.
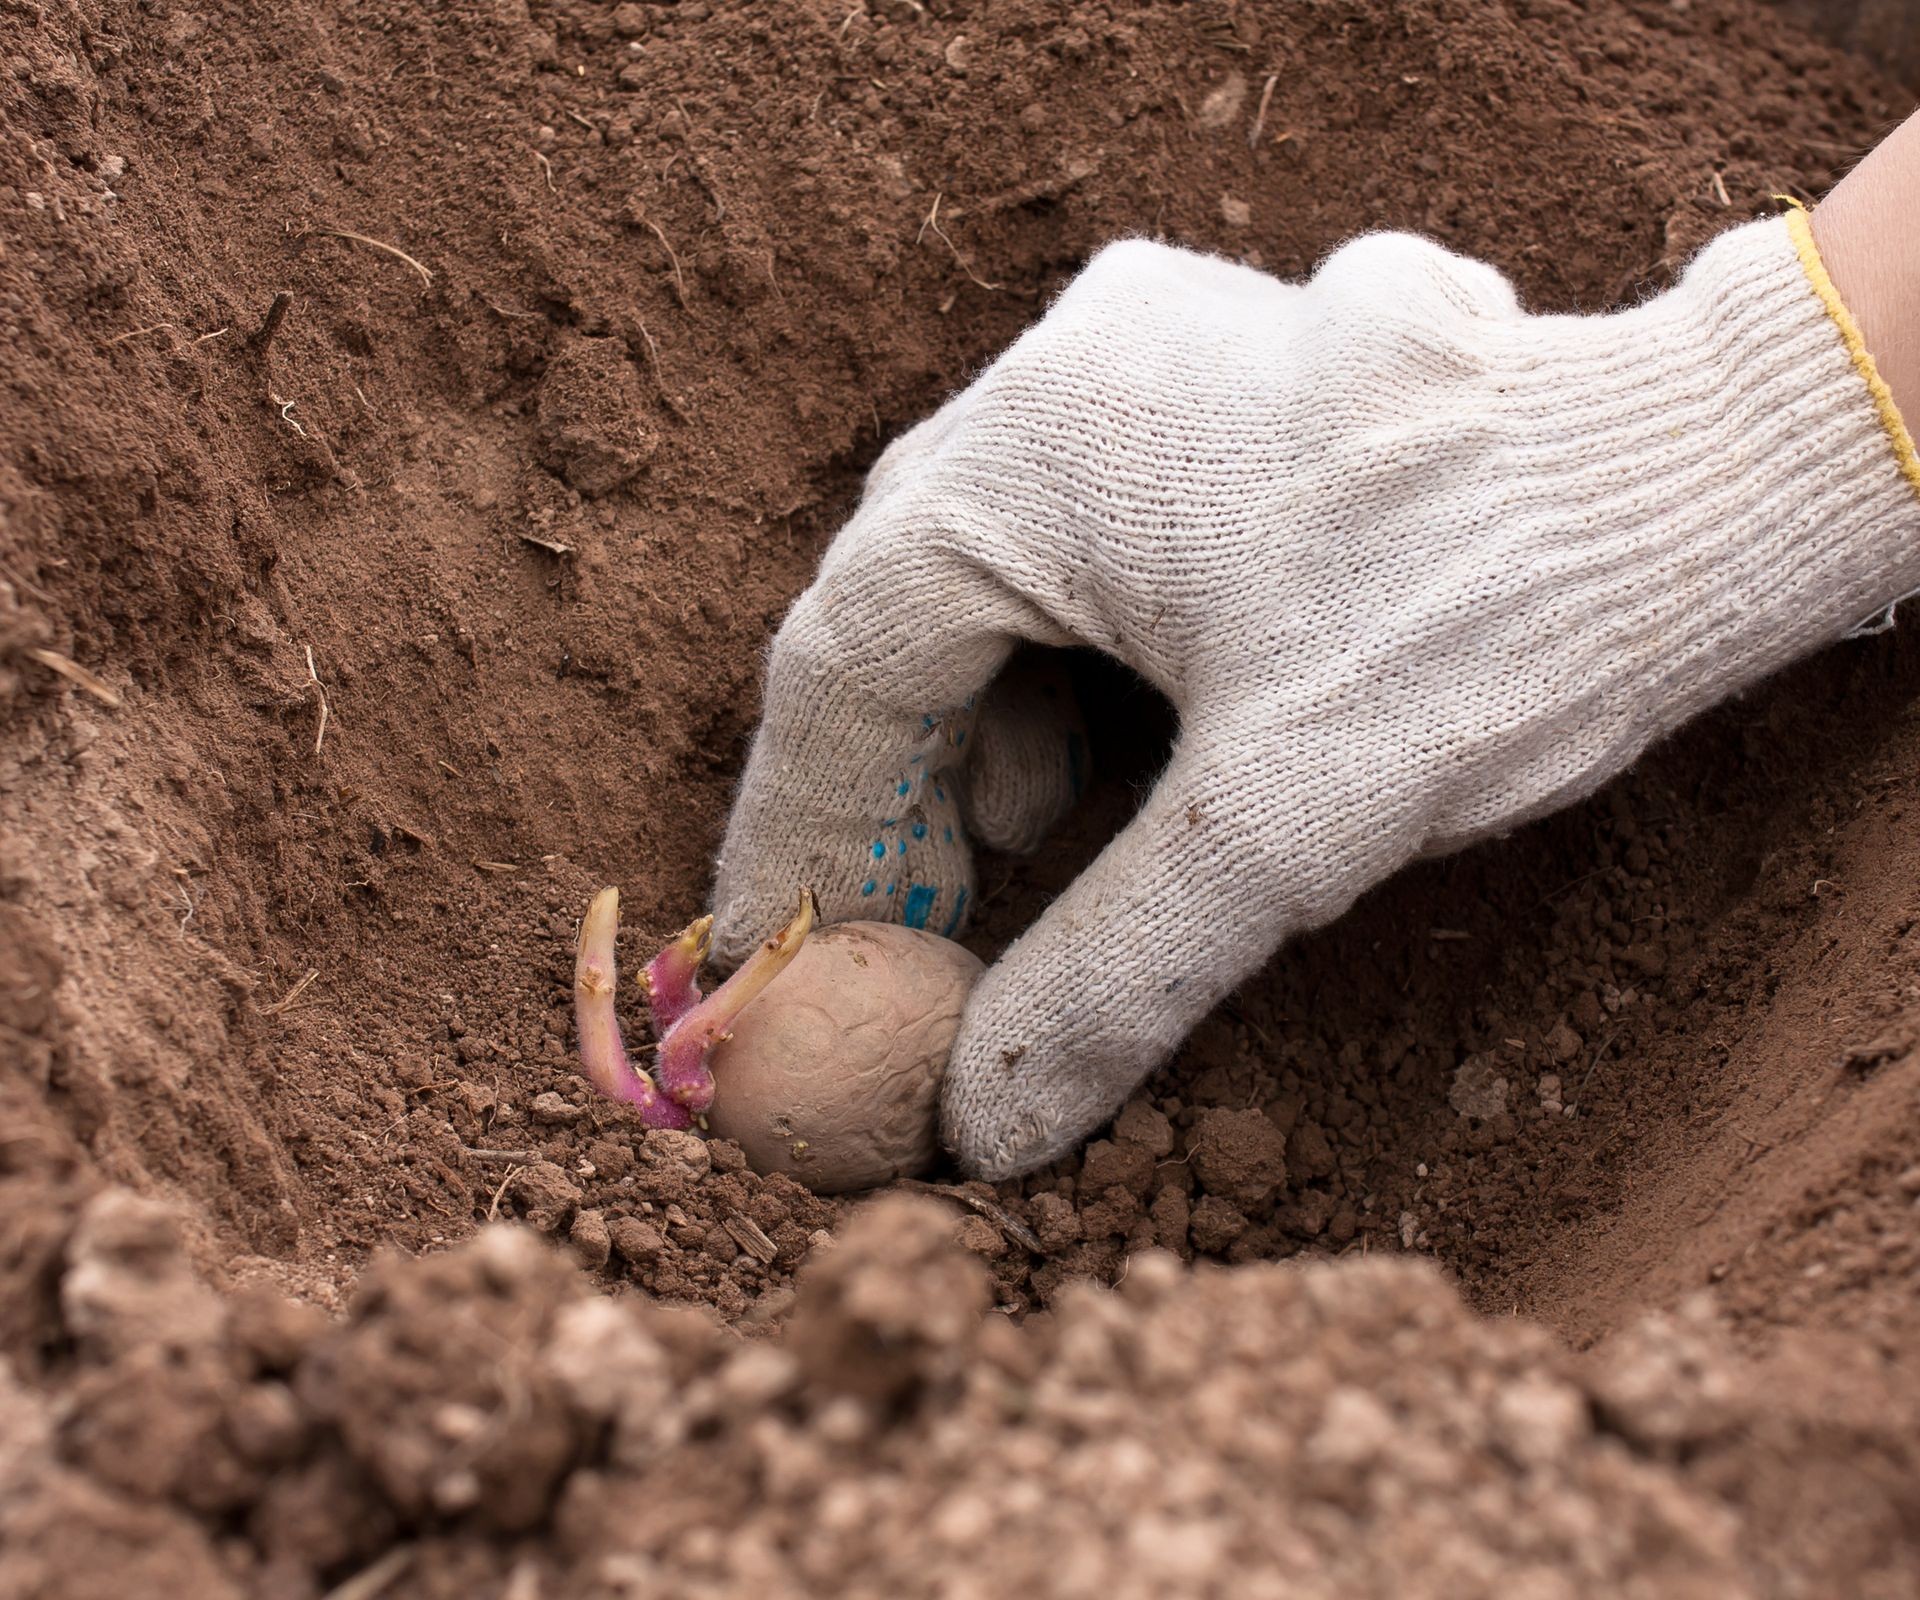 Planting a sprouted potato piece into prepared garden soil
Harvesting and Storing Your Homegrown Potatoes
Knowing when to harvest is key to enjoying your homegrown bounty. The primary indicator that your potatoes are ready is when the plant’s foliage begins to yellow, wither, and eventually die back completely. This signals that the plant has finished putting energy into leaf production and has focused on developing the tubers underground.
About one week before you plan to harvest, stop watering the plants entirely. This helps the skin of the potatoes toughen up slightly, which improves their storage quality.
To harvest, gently loosen the soil around the base of the dead plant using a garden fork or shovel, being careful not to stab the tubers. Carefully sift through the soil by hand to locate and unearth the potatoes.
Do not wash the potatoes immediately after harvesting. Simply brush off any large clumps of excess dirt. Washing can sometimes reduce their storage life. Allow the harvested potatoes to cure in a cool, dark, well-ventilated location for a few days before storing them long-term. Store cured potatoes in a cool, dark place, like a root cellar, garage, or basement, ensuring good air circulation. Avoid storing them in plastic bags, which can trap moisture.
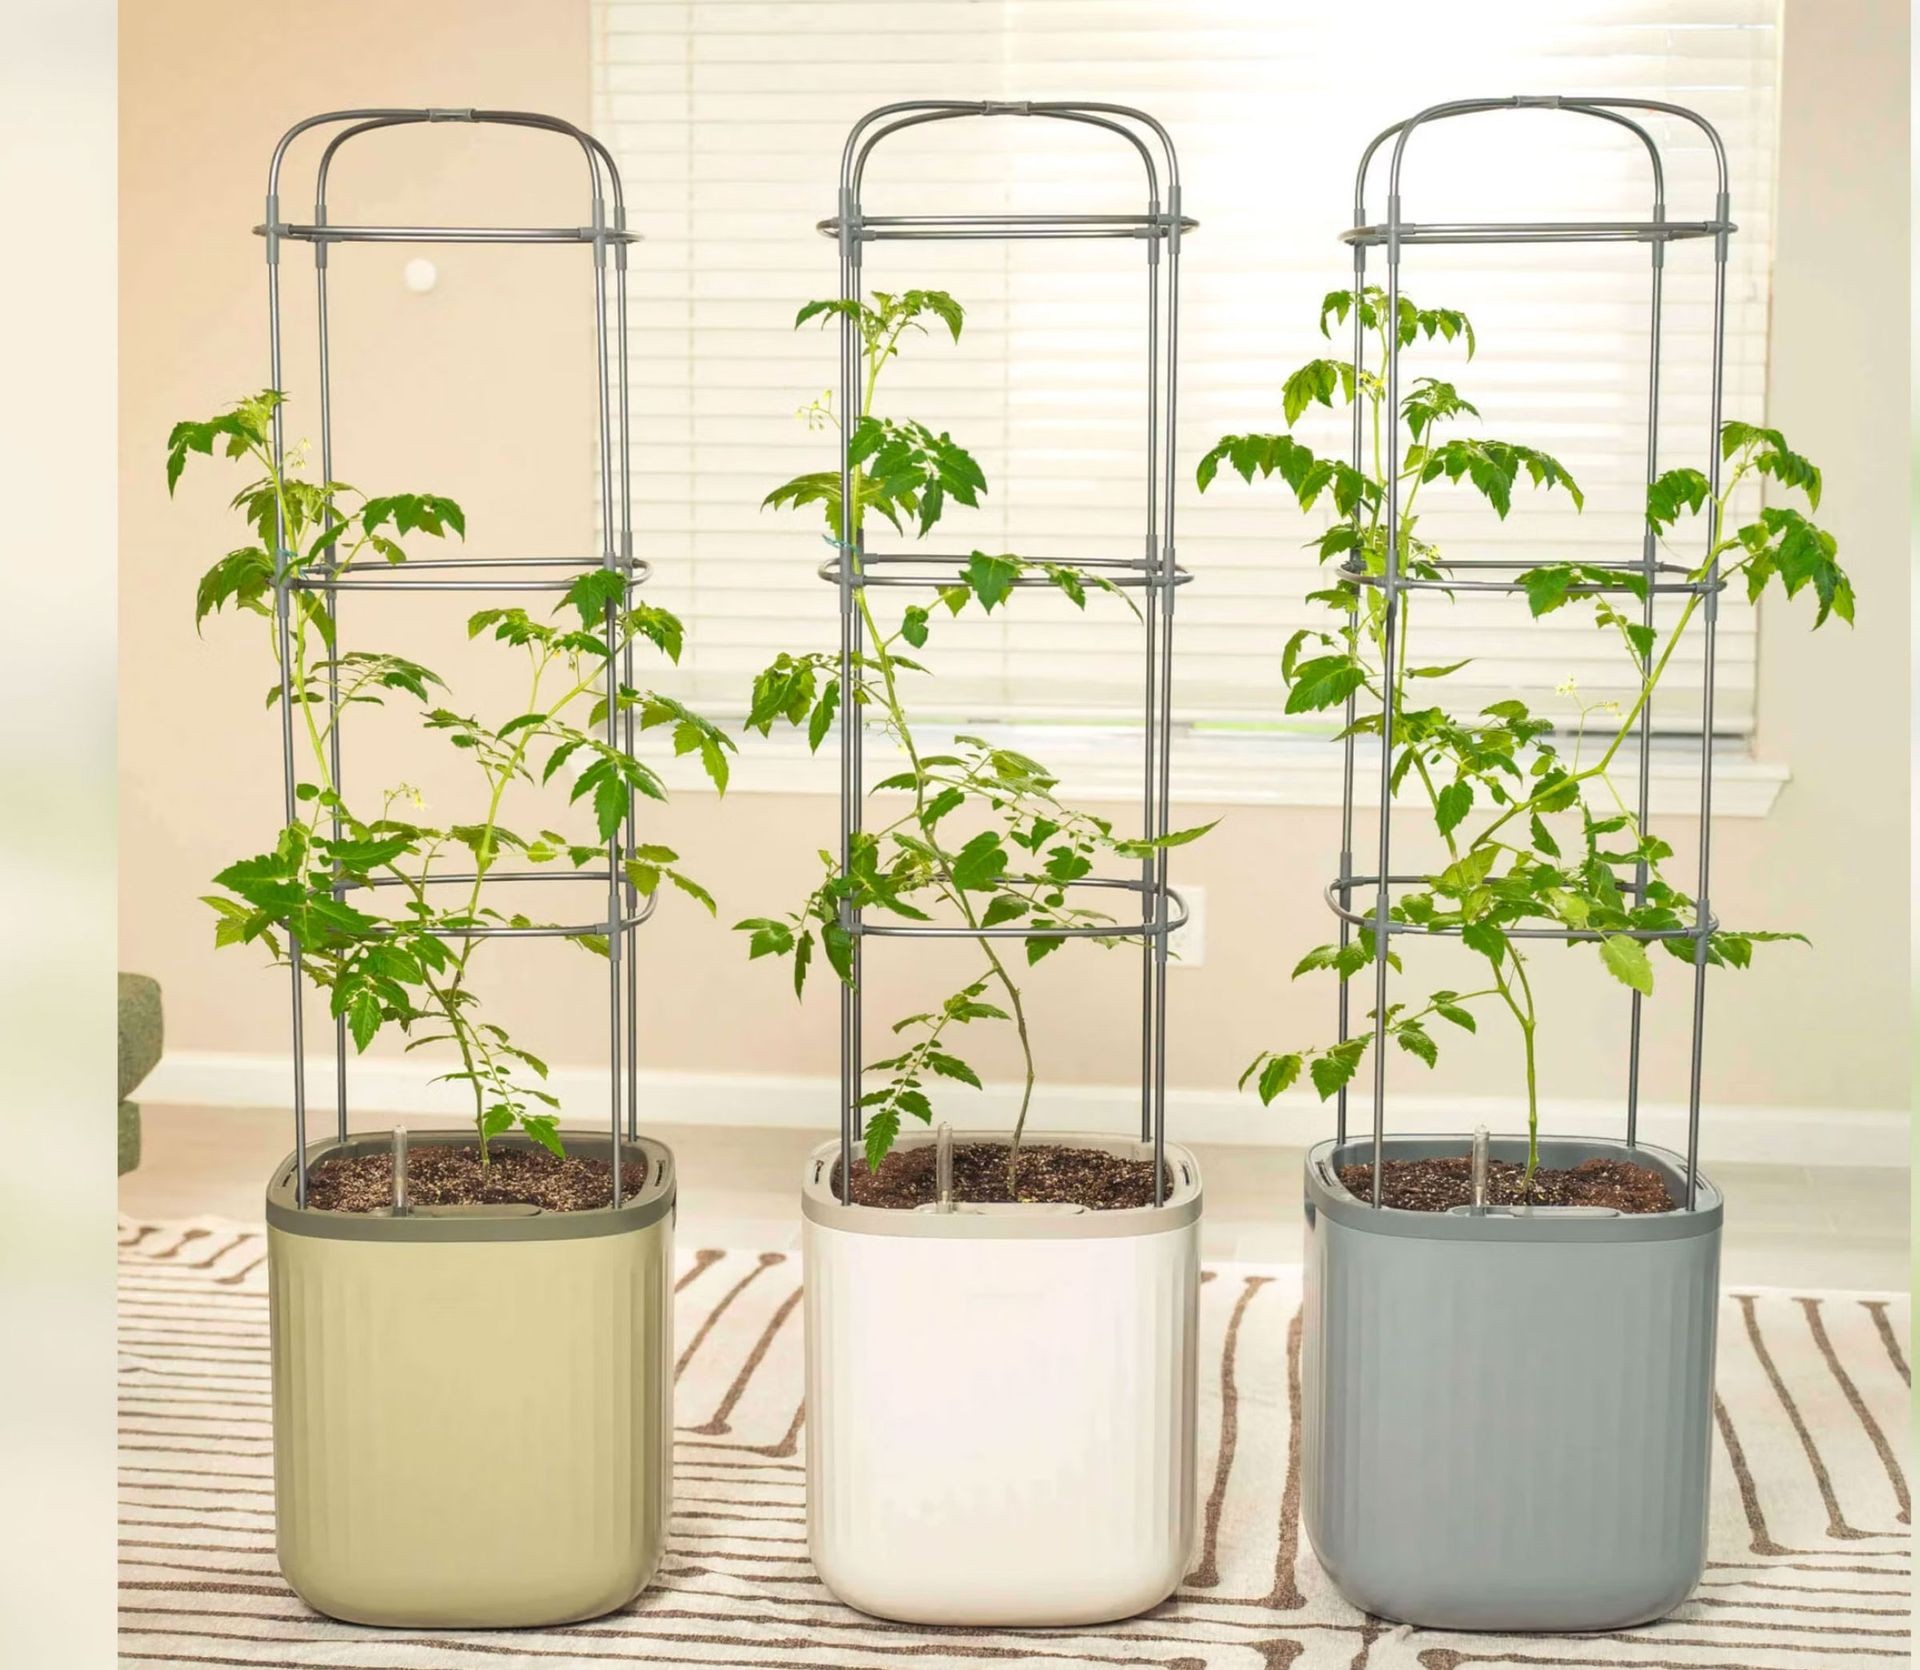 Large self-watering container for growing potatoes or other vegetables
Growing potatoes can be an incredibly satisfying experience, even if you’re starting with a few spuds from your pantry. It’s a straightforward process that yields delicious results and can be a fantastic educational project for families.
Frequently Asked Questions (FAQs)
Can I use regular potatoes from the grocery store as seed potatoes?
Yes, you can use regular grocery store potatoes for planting. The main difference compared to certified seed potatoes is that their health history regarding diseases is unknown. Planting them in containers is a good way to mitigate this risk.
How many potatoes can you grow from one potato?
The number of new potatoes you harvest depends on factors like the size of the original potato piece, the number of eyes it had, growing conditions, and the variety. Each eye has the potential to produce a stem that develops tubers, but not every eye will sprout successfully. A single healthy piece with a couple of eyes can yield multiple new potatoes.
Do potatoes need to sprout before planting?
While not strictly necessary for most common potato varieties, allowing your potato pieces to develop short sprouts (often called “chitting”) before planting can give them a head start and potentially lead to earlier harvests. Sweet potatoes, which are botanically different, do require developing “slips” (sprouts with roots) before planting.
Embarking on your potato-growing journey, whether from certified seed or a grocery store find, connects you directly to the food you eat. At Biogarden.Asia, we are passionate about helping you succeed in your gardening endeavors, providing the knowledge and supplies you need. Give growing potatoes a try – the taste of homegrown is truly unbeatable!