


No products in the cart.
NEWS
Mastering Your Vegetable Harvest: An Expert Guide for Peak Flavor and Yield
Cultivating your own garden plot or containers until they burst with ripeness is one of life’s great pleasures. Yet, the moment of truth arrives when it’s time to harvest. Nurturing those plants for weeks or months only to end up with produce that’s disappointing – whether it’s bland, bitter, tough, or simply past its prime – can be a significant letdown for any gardener. Getting the harvest right is arguably one of the most critical skills in successful home gardening. Even seasoned enthusiasts can misjudge the perfect moment, especially with a new variety or challenging weather. Don’t feel discouraged if you’ve missed the optimal harvest window or struggled with technique; it’s a learning process every gardener goes through.
Each vegetable variety has its unique signals and ideal harvesting approach. Some offer a continuous yield throughout the growing season, allowing you to “cut and come again,” while others mature all at once, resulting in a single, bountiful haul. To truly maximize the flavor and extend the productivity of your garden, understanding these nuances is key. Always keep your seed packets handy; they provide invaluable information on maturity timelines, expected size, and visual cues for ripeness specific to your chosen variety. By combining these guidelines with practical knowledge and building your own gardening experience, you’ll soon develop an intuitive sense for spotting a perfectly ripe vegetable and knowing exactly how to gather your delicious reward. Let’s explore the fundamental principles that will elevate your harvest from good to exceptional.
Knowing When Your Vegetables Are Truly Ripe
The difference between a truly delicious homegrown vegetable and one that’s merely edible often comes down to harvesting it at the precise moment of peak ripeness. Picking too early can mean underdeveloped flavor and texture, while waiting too long can result in toughness, bitterness, or over-softness. While seed packets offer an estimated maturity date, this is just a guideline. The real skill lies in observing the plant and the vegetable itself for key signs that signal readiness. Developing this eye for ripeness comes with experience, but there are universal indicators you can look for across different crops.
Some vegetables demand to be harvested right at peak ripeness for the best quality – think most root vegetables, summer squashes, sweetcorn, eggplants, garlic, zucchini, cucumbers, beans, and peas. Others, like tomatoes or certain fruits, might continue to ripen off the plant, offering a little more flexibility.
If you’re growing a vegetable for the first time, determining the right harvest time can feel like a puzzle. Here are the essential clues I always look for:
- Color: Does the vegetable’s color match the image or description on your seed packet? Ripe produce typically exhibits vibrant, rich coloring and often has a healthy sheen. The color should be evenly distributed. If the color appears faded, yellowing, or brown spots are developing, it’s likely past its prime.
- Feel: The texture of a vegetable changes significantly as it ripens. Fruiting vegetables like tomatoes and peppers should yield slightly to gentle pressure when ripe but shouldn’t feel mushy. They should feel firm yet supple, with a satisfying weight for their size. Root vegetables, conversely, are usually quite firm when ready. If a root vegetable, especially a thin one like a carrot, feels soft or pliable, it’s likely overripe or dehydrated. Bean and pea pods should feel full with developed seeds inside, but not overly swollen or hard.
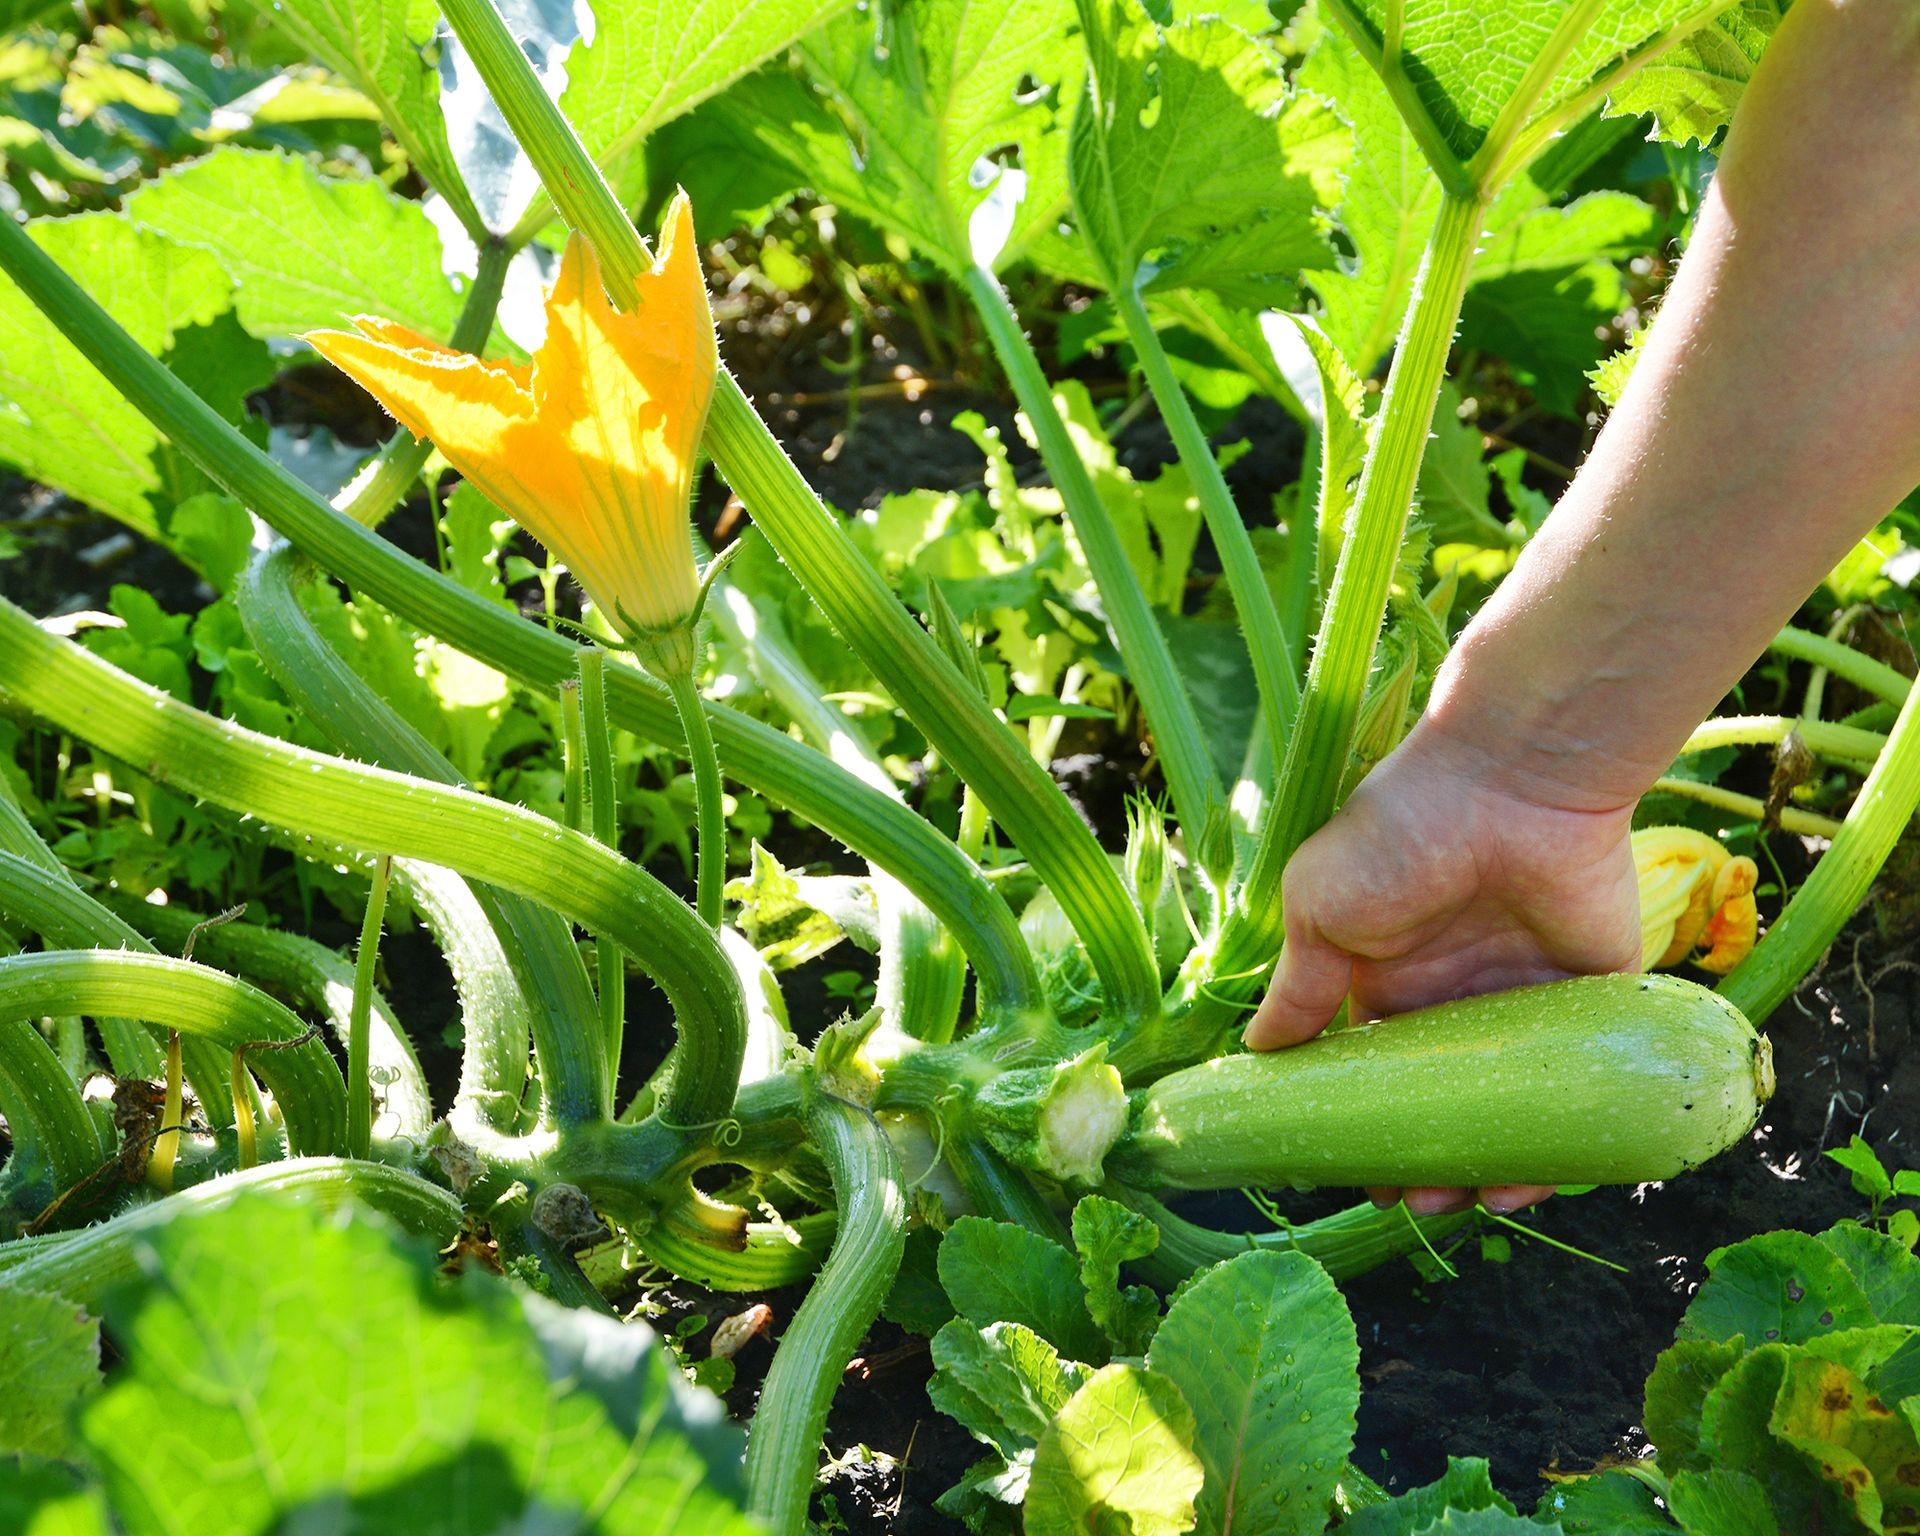 Gardener feeling a zucchini to assess ripeness before harvesting
- Size: Consult your seed packet for the expected mature size. While some crops require reaching full size for optimal flavor, many can also be enjoyed as tender “baby” vegetables – think baby carrots, beets, or corn. Overgrown vegetables, like giant zucchinis, often lose flavor and develop a tough texture. For root vegetables like carrots and beets, sometimes the shoulder of the root begins to emerge above the soil line, indicating they are reaching maturity underground.
- Ease Of Picking: As fruiting crops and legumes ripen, they often become easier to detach from the parent plant. Try gently twisting or pulling one. If it comes away easily, others of similar appearance are likely ready. Significant resistance suggests it still needs more time on the vine.
- Foliage: For vegetables that grow underground, like root crops and alliums (onions, garlic), the state of the foliage provides crucial clues. Typically, as these vegetables mature, the leaves or stalks will begin to yellow or brown and die back. Potatoes, for instance, aren’t fully mature until the tops have completely withered. Onions and garlic are ready when the tops have partially yellowed and begun to flop over. Beets and carrots often maintain healthy green tops, so for these, look for signs of the root swelling at the soil surface and observe the overall size and development of the foliage.
- Taste: When in doubt, the most direct method is a taste test! Harvest a small sample, cook it if necessary, and try it. If it tastes bland and feels tough, it’s likely underripe. If it’s sour, mushy, or overly sweet (in a bad way), it might be overripe. This hands-on experience quickly calibrates your palate to the peak flavor of your home-grown produce.
The Right Time and Conditions for Harvesting
Beyond knowing what to look for, when you choose to harvest can significantly impact the quality, freshness, and storage potential of your vegetables. Timing matters, not just in terms of maturity, but also the time of day and the prevailing weather conditions.
Generally, the cool morning hours are the best time to harvest most vegetables. At this time, plants are typically plump, well-hydrated, and crisp from the night’s lower temperatures and higher humidity. Harvesting them while they are full of moisture helps them stay fresh longer after picking.
Avoid harvesting during the hottest part of the day. High temperatures can cause vegetables to wilt quickly and lose their vibrant texture and flavor.
Weather conditions are also critical. Try to avoid harvesting during or immediately after heavy rain. Walking on wet soil can lead to soil compaction, which negatively impacts future plant growth by reducing aeration and drainage. More importantly, harvesting wet leaves can splash soil-borne diseases onto healthy plants. Wet conditions also increase the risk of bacterial contamination; harmful bacteria like Listeria can thrive in wet soil and are found in higher concentrations on low-growing crops after rain events.
For crops destined for storage, like onions and garlic, harvesting after a few days of dry weather is essential. Wet conditions at harvest make them much more prone to mold and rot during storage. Conversely, if a dry spell is followed by heavy rain forecasts, consider harvesting ripe tomatoes or other soft-skinned fruits proactively. These can rapidly take up excess water after drought, causing them to swell and split.
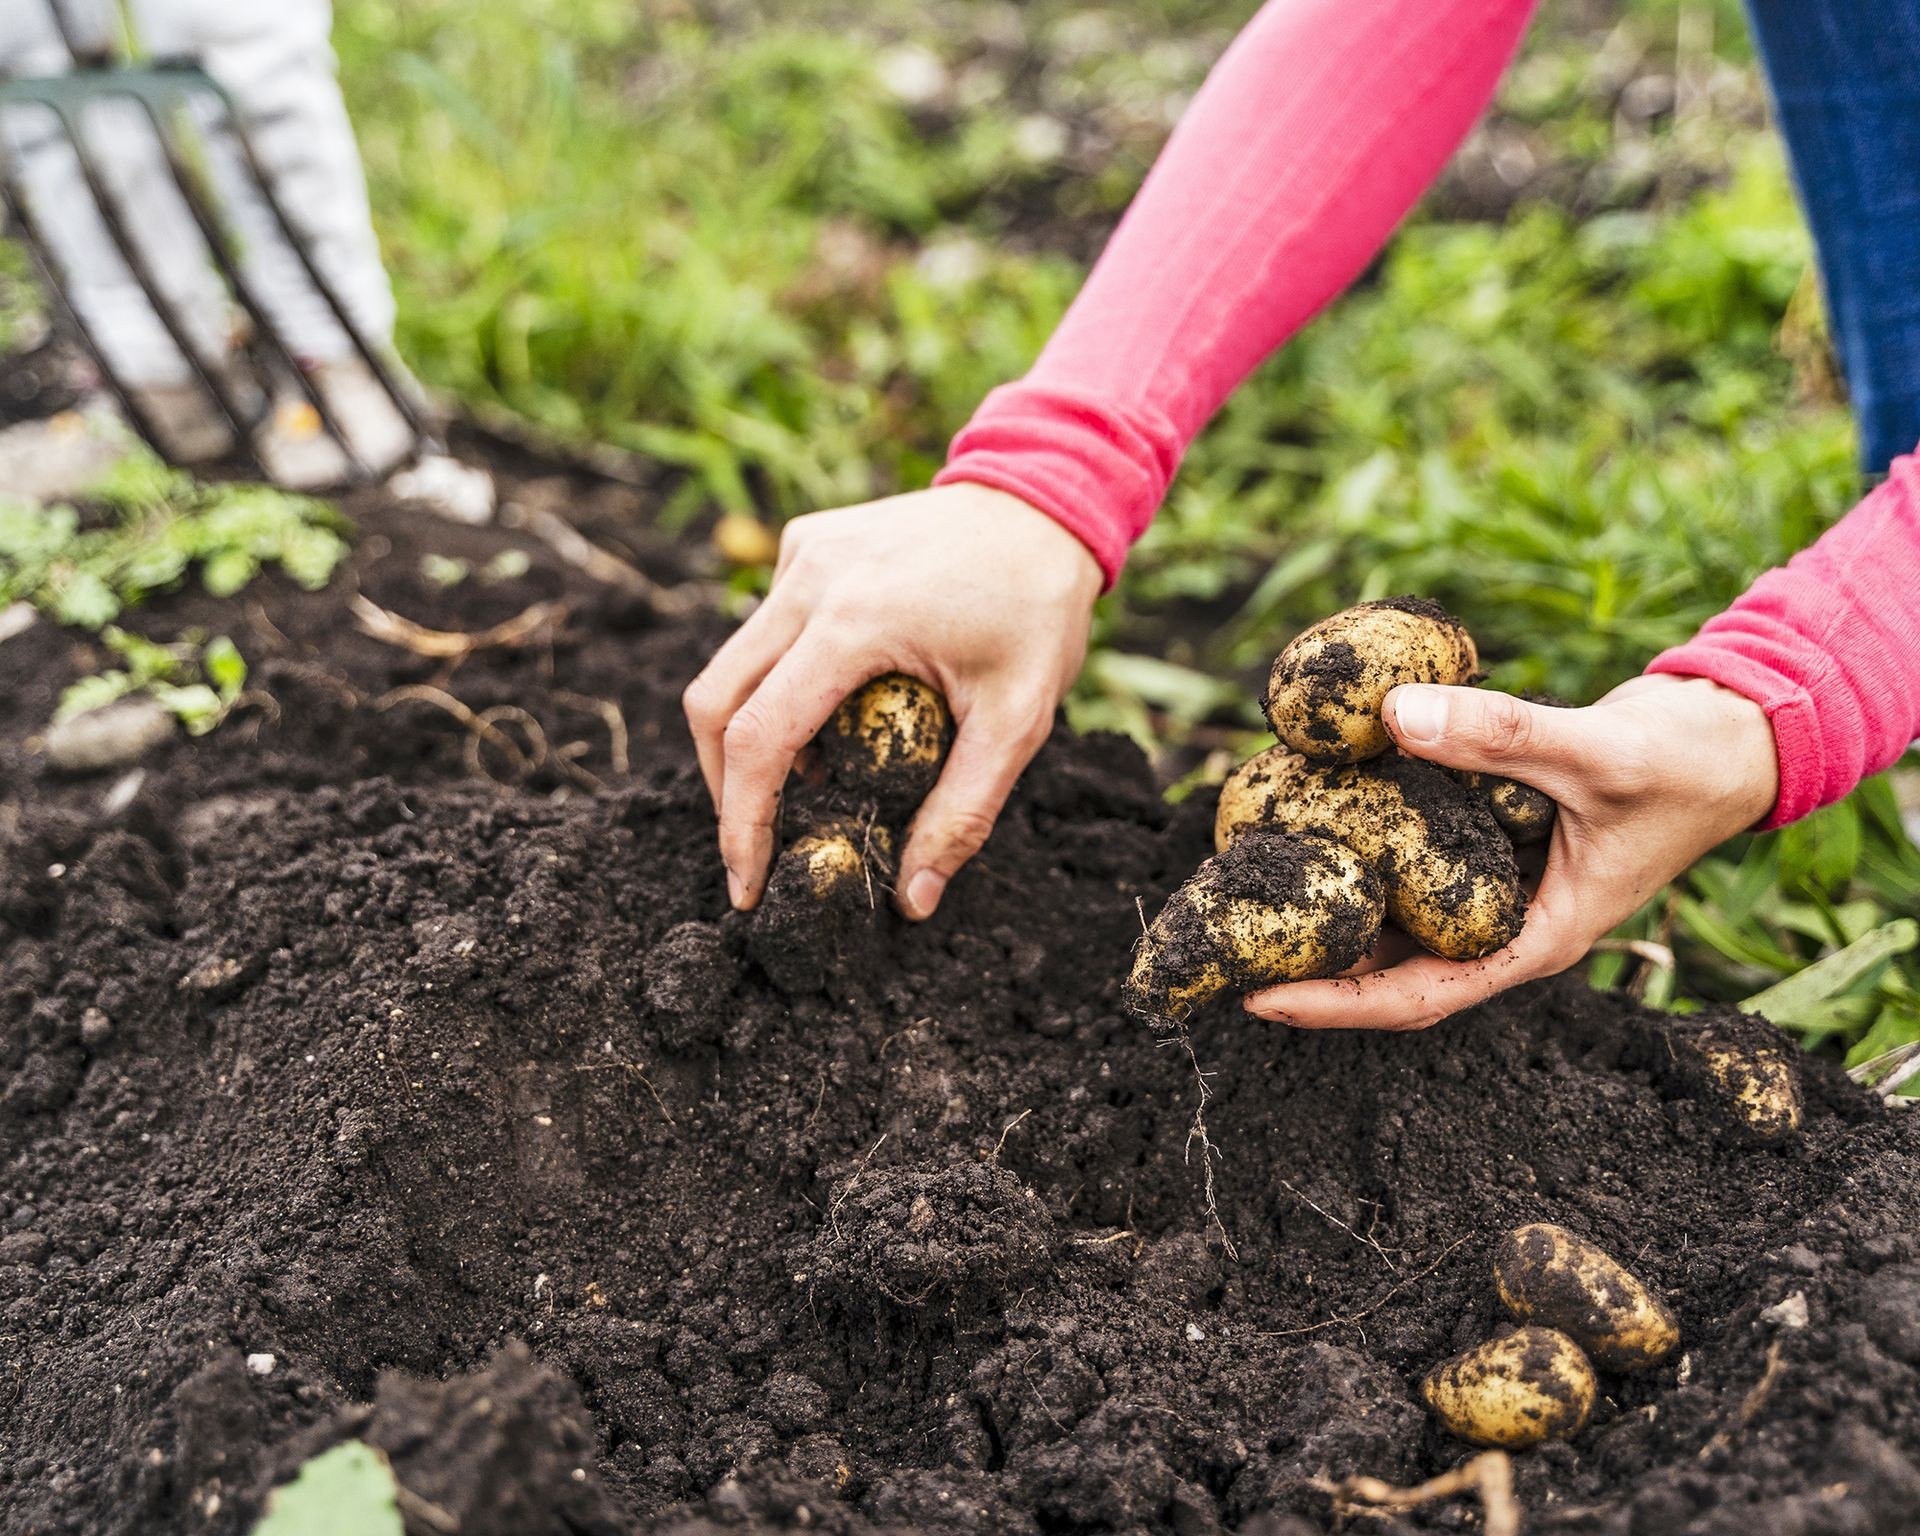 Gardener harvesting potatoes from the soil after the plant has died back
Mastering Harvesting Techniques for Different Crops
The ultimate goal is getting the vegetable off the plant or out of the ground, but using the correct technique is crucial for preventing damage to the produce and the plant itself, ensuring continued yield where possible. Handle all vegetables gently throughout the process to avoid bruising, which can shorten their storage life and reduce quality.
- Root Vegetables: Carrots, beets, potatoes, parsnips, and radishes are grown below the soil surface. To harvest without breaking them, first gently loosen the soil around the plant. In loose, loamy soil, you can often do this with your fingers. For firmer soil, a garden fork is ideal. Insert the fork several inches away from the plant’s center and gently lever it to loosen the soil around the root ball. The vegetable should then pull out relatively easily. If there’s resistance, loosen more soil. Once harvested, immediately trim excess leaves, leaving just an inch or two of the stem, to prevent moisture loss from the root.
- Fruiting Vegetables: Tomatoes, peppers, eggplant, cucumbers, and squash are typically harvested by detaching the fruit from the vine. For many, a gentle “twist and pull” motion works if the fruit is fully ripe and separates easily. However, to avoid damaging the plant’s stem or the fruit itself if it resists, it’s best practice to use sharp, sterilized hand pruners or scissors to make a clean cut through the stem just above the fruit. This is especially important for tougher stems.
- Leafy Greens: Lettuce, spinach, kale, Swiss chard, and collard greens can be harvested either whole or using the “cut and come again” method. For a whole harvest, make a clean cut at the base of the plant with a sharp knife or pruners. To harvest repeatedly, simply pick the outer, mature leaves, leaving the central growing point and inner leaves intact. This allows the plant to continue producing new leaves.
- Brassicas: Broccoli, cauliflower, cabbage, and Brussels sprouts generally require a sharp tool for harvesting the main head or sprouts. Use sharp pruners or a knife to make a clean cut at the base of the head (broccoli, cauliflower, cabbage) or to snap off mature sprouts from the stem (Brussels sprouts). Many broccoli varieties will produce smaller side shoots after the main head is removed, extending the harvest.
- Leeks: Leeks can be harvested by digging up the entire stalk when they reach the desired size. Alternatively, for a cut-and-come-again approach, slice the leek stalk a couple of inches (about 5cm) above the soil surface, leaving the root system and basal plate undisturbed. The plant will regrow, allowing for a second, though often smaller, harvest.
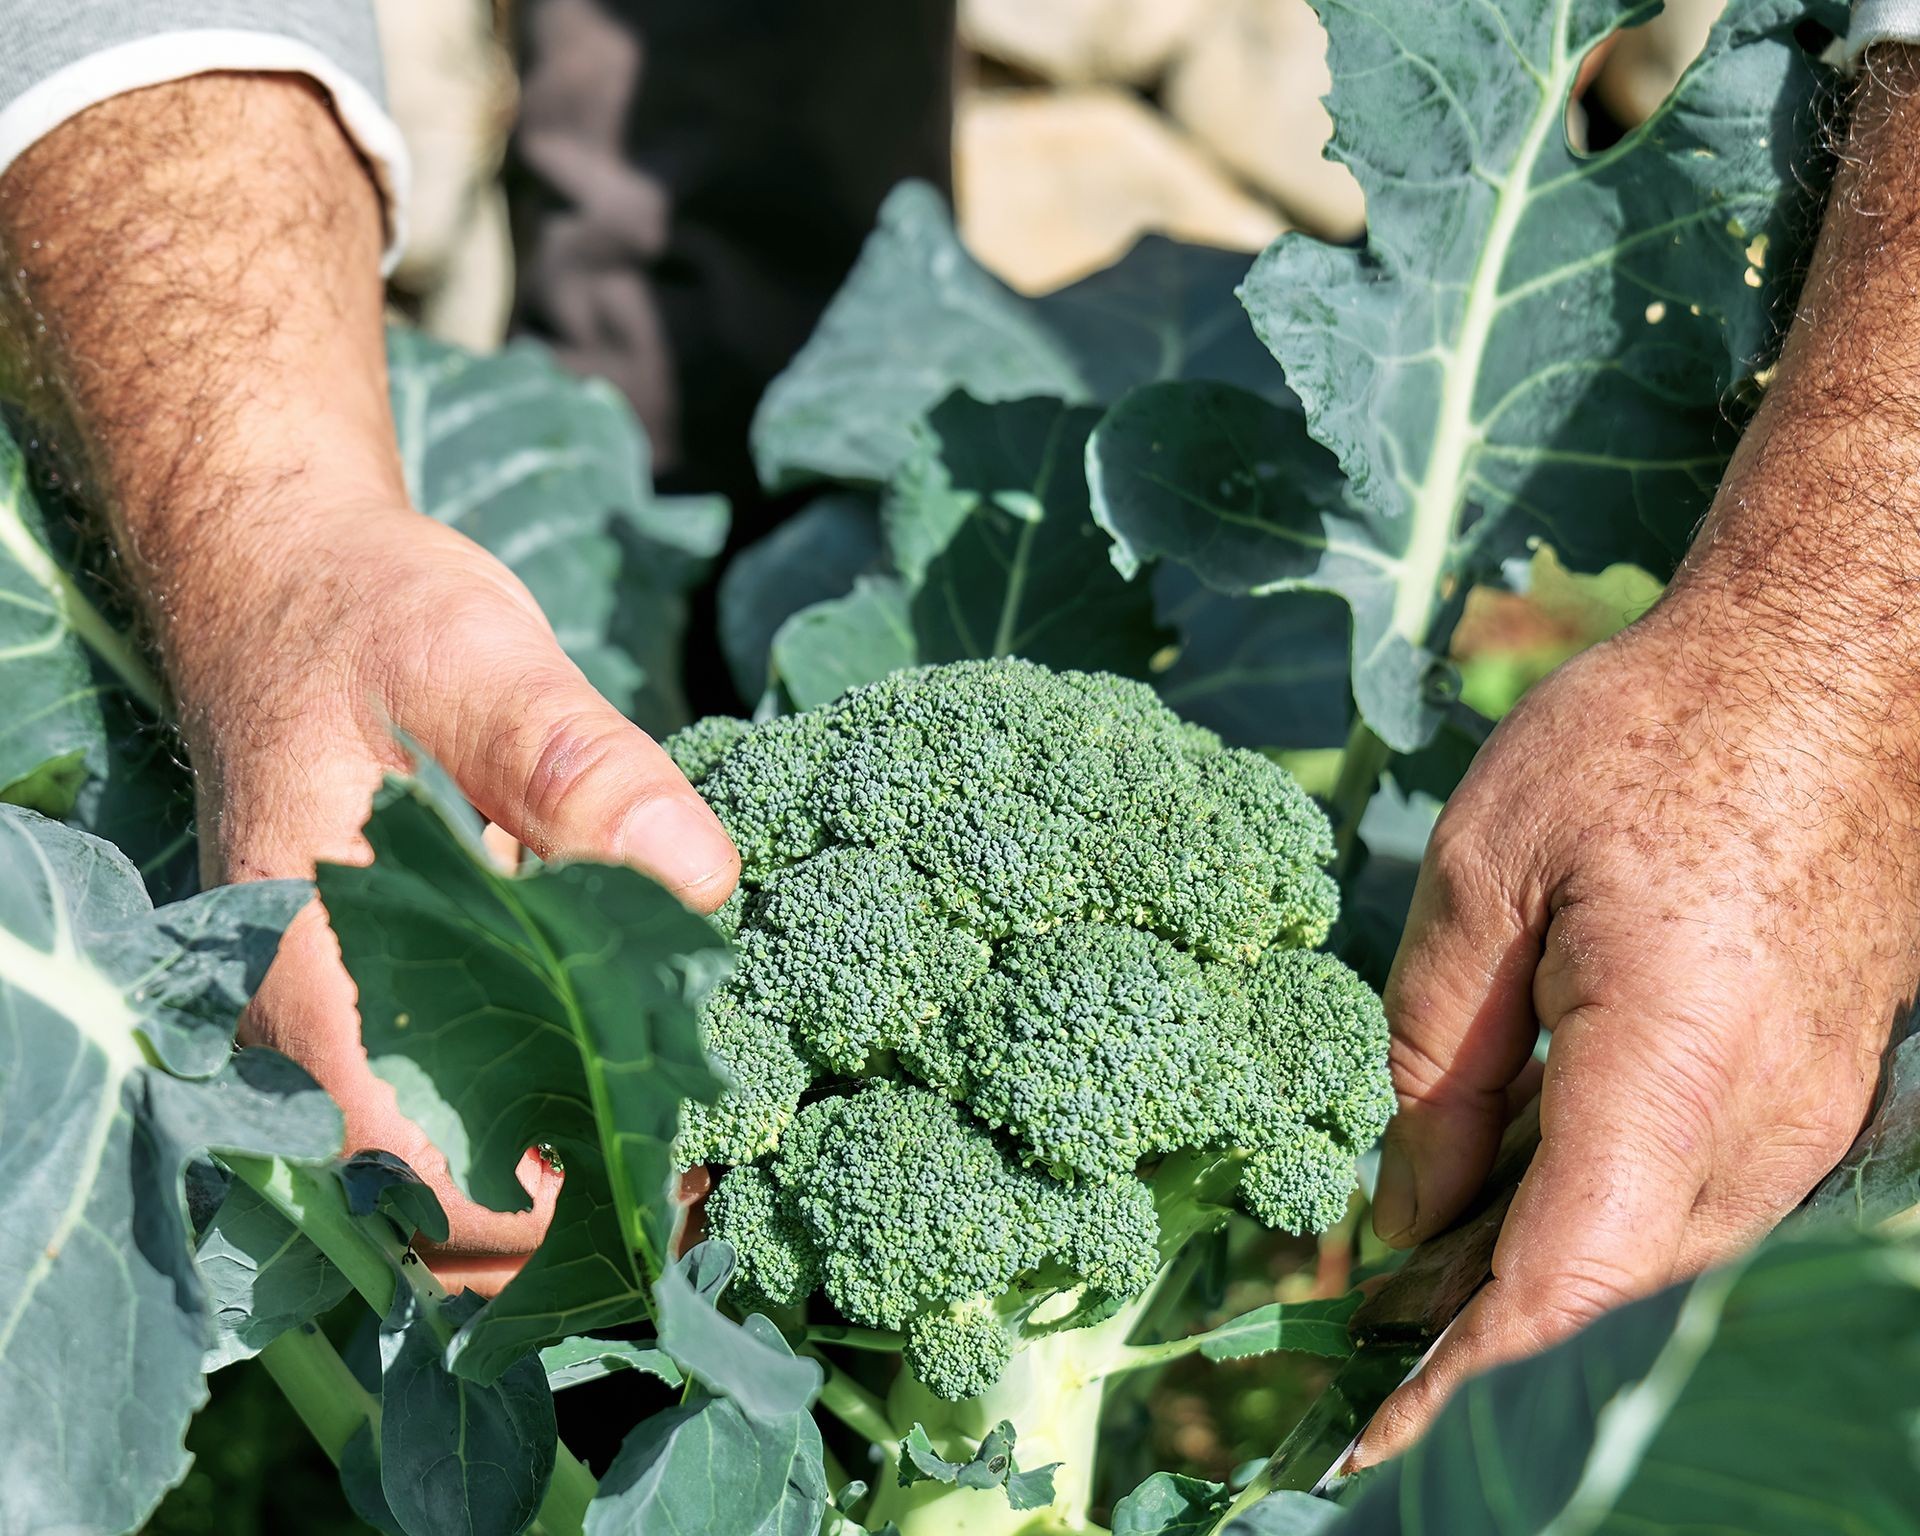 Closeup of hands harvesting broccoli head with a knife
Essential Tools for Efficient and Damage-Free Harvesting
While you don’t need an extensive toolkit for harvesting, having a few quality tools designed for the job makes the process easier, more efficient, and helps prevent damage to both your precious produce and the plants themselves. Good tools lead to cleaner cuts and less bruising.
- Garden Fork (Hand or Digging): Essential for gently loosening soil around root vegetables before pulling. This prevents roots from breaking, which is a common problem when trying to pull from compacted soil alone or using a spade that might slice through the crop.
- Hori Hori Knife: A versatile Japanese garden knife that’s excellent for harvesting. Its serrated or sharp blade can cleanly cut through thicker stems or vines. The pointed tip is also useful for carefully loosening soil around root crops or weeding near plants without disturbing their roots too much.
- Hand Pruners or Sharp Scissors: Indispensable for harvesting fruiting vegetables, brassicas, and leafy greens, especially when using the cut-and-come-again method. Sharp blades make clean cuts that heal faster, reducing stress on the plant and preventing disease entry.
- Harvest Basket or Container: A basket with a handle, especially one with flexible sides, is ideal for collecting your harvest. Its shape and material help prevent bruising softer fruits as you add more produce. Avoid deep buckets where vegetables at the bottom can get crushed.
Maintaining tool hygiene is just as important as choosing the right tool. Sterilizing cutting tools between plants or at least between different types of crops is vital to prevent the spread of diseases in your garden. A simple and effective method is to wipe the blades with a cloth soaked in a disinfectant solution (like rubbing alcohol or a diluted bleach solution) after harvesting each plant or row.
 Gardener harvesting red bell peppers using hand pruners
Extending Your Harvest Season: Pick Often for More
One of the most rewarding aspects of a home garden is enjoying a continuous supply of fresh vegetables. While techniques like succession planting (staggering plantings or choosing varieties with different maturity dates) are key to extending the overall season, the way you harvest certain crops can directly influence how much they continue to produce. The goal isn’t just harvesting the final yield, but often encouraging the plant to keep giving!
Many prolific crops, including beans, peas, tomatoes, cucumbers, and zucchini, are stimulated to produce more flowers and fruits when you harvest regularly. Think of it from the plant’s perspective: its biological drive is to produce seeds (found within the fruit/pod). If you keep removing the immature fruit/pod, the plant perceives a need to produce more to fulfill its reproductive cycle.
For bush beans and peas, this means picking pods every day or two once they start producing. Letting pods become old, swollen with mature seeds, and tough on the plant signals it to slow down or stop production entirely.
Regular picking keeps tomato plants productive. To maximize your yield, you can even pick some slightly green tomatoes and allow them to finish ripening indoors on a warm windowsill. This encourages the plant to set more fruit outdoors.
Zucchini are notorious for growing enormous overnight! For the best flavor and tenderness, pick them when they are still relatively small (around 6-8 inches). Letting them grow into “marrow” size not only results in watery, less flavorful squash but also significantly reduces the plant’s desire to produce more.
The “cut and come again” method is fantastic for leafy greens like lettuce, kale, Swiss chard, and collard greens. Instead of harvesting the whole head, simply snip or break off the outer, mature leaves, leaving the inner leaves and the plant’s central growing point undisturbed. The plant will quickly regenerate new leaves, providing harvests for weeks from a single plant.
Even some root vegetables offer leafy bonuses. You can harvest the delicious tops of turnips and beets without harming the main root, provided you leave a few leaves on the plant to allow it to continue photosynthesizing.
Certain brassicas, like broccoli, will often produce smaller, but still tasty, side shoots after the main central head is removed. Harvesting this main head encourages the plant to put energy into these secondary yields. Similarly, Kohlrabi foliage can be harvested and eaten.
As mentioned in the techniques section, leeks can also be treated like cut-and-come-again greens by slicing them a few inches above the soil, allowing the root system to remain and regrow. This continuous harvesting strategy for suitable crops ensures a steady supply of fresh produce throughout the growing months, preventing overwhelming gluts and extending the joy of your garden’s bounty.
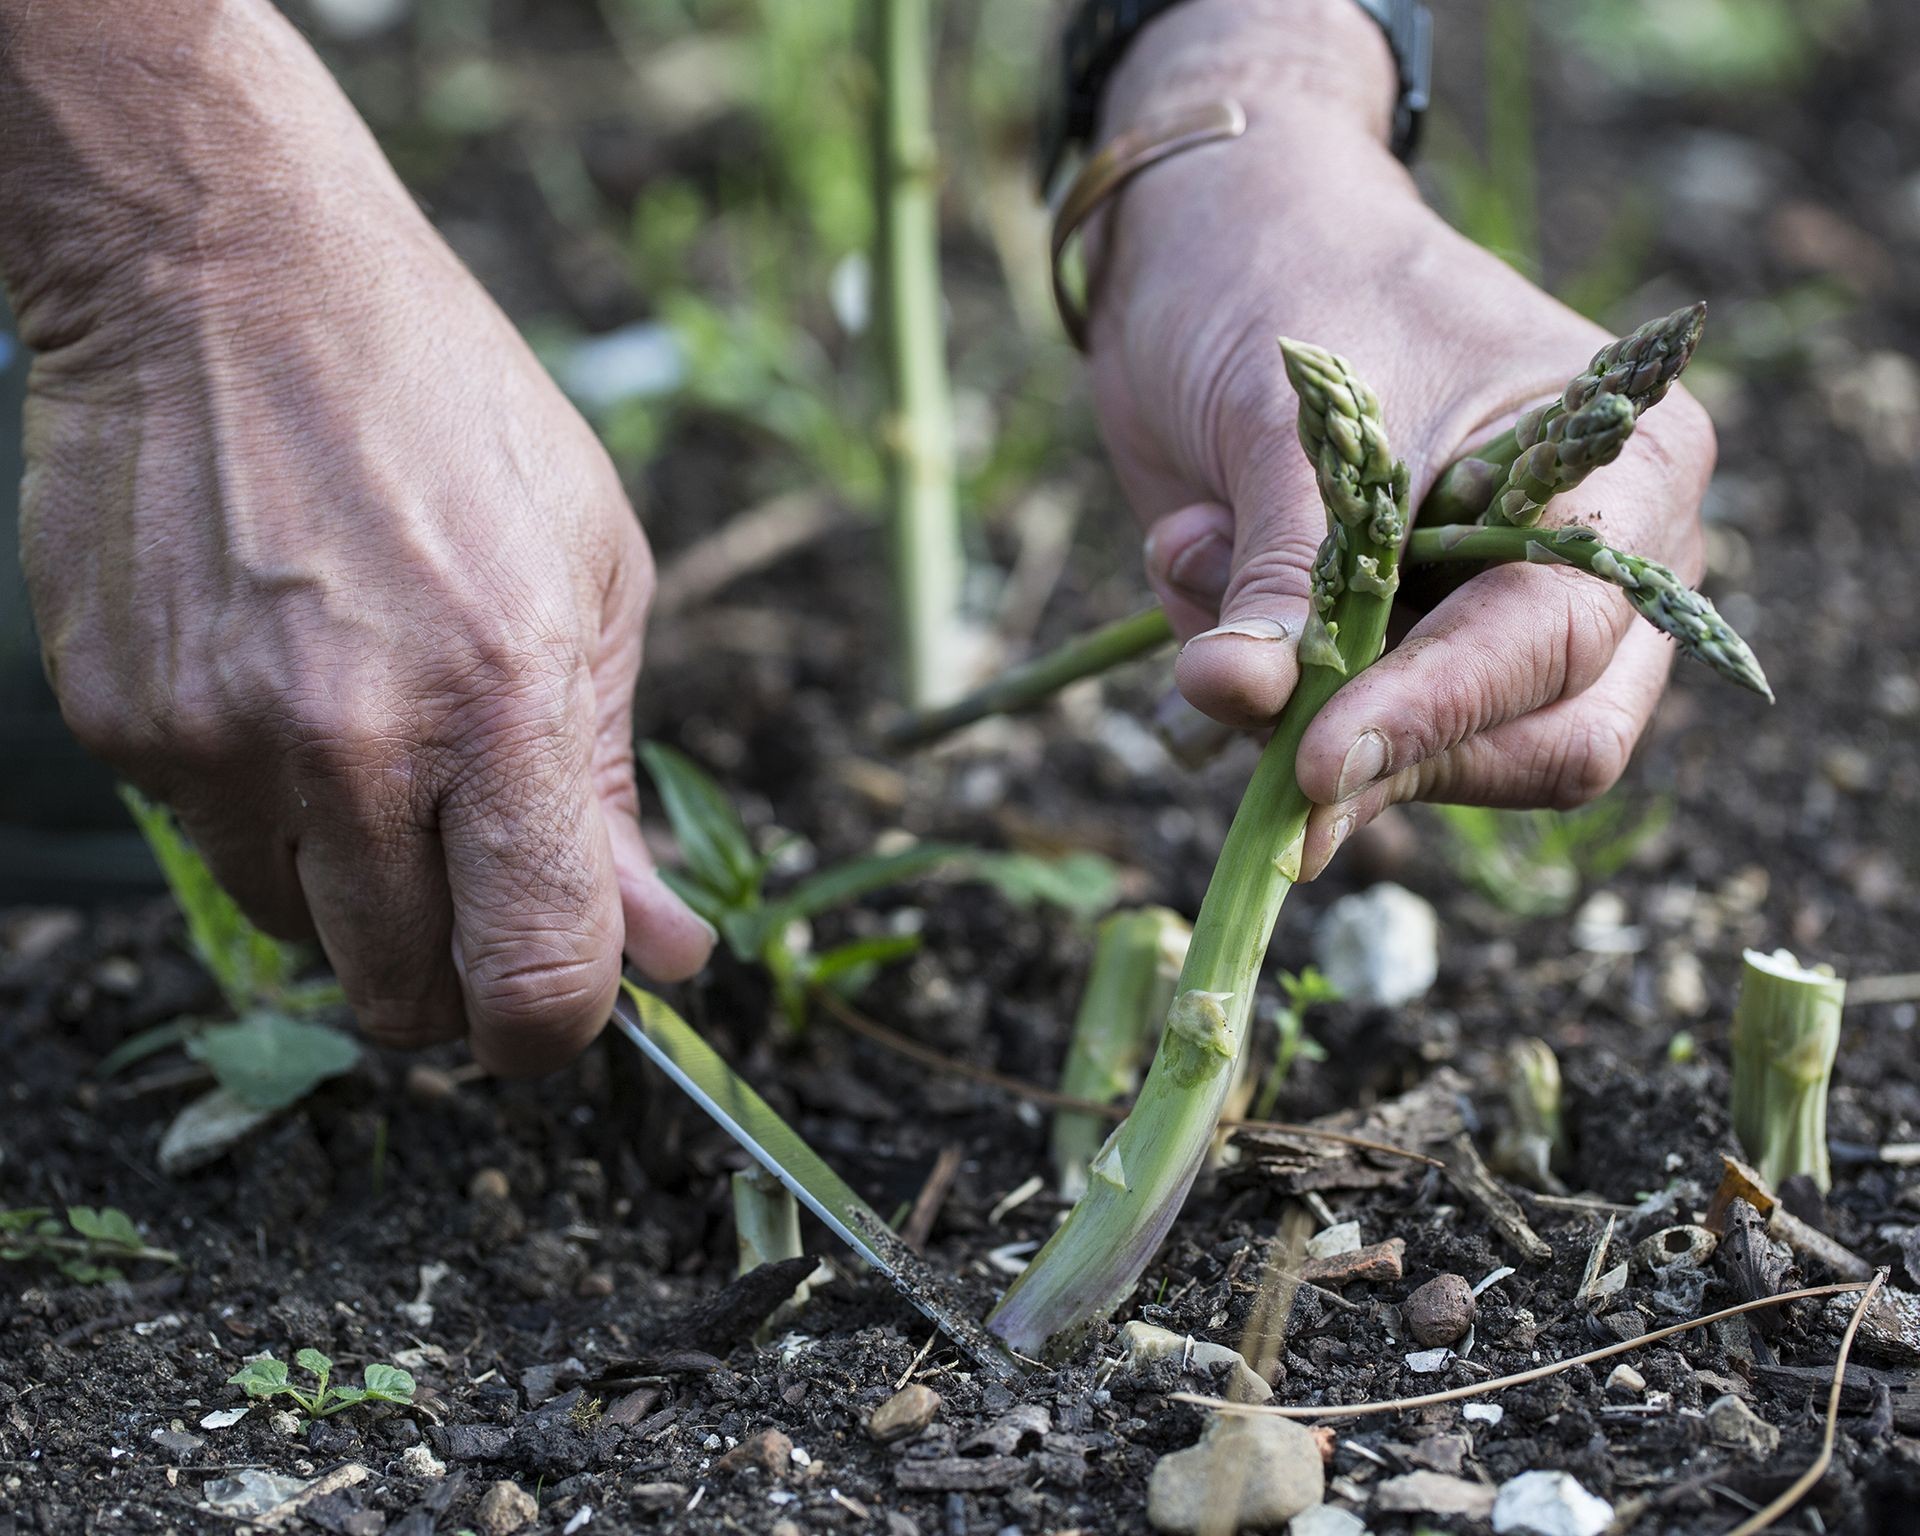 Gardener harvesting asparagus spears from a dense patch of plants
Curing and Proper Storage for Long-Term Enjoyment
Successfully harvesting your vegetables is a triumph, but knowing how to store them correctly ensures that your hard work continues to pay off long after they’ve been picked. While freezing, canning, pickling, or drying are excellent long-term preservation methods, many crops can be stored fresh for weeks or even months if prepared and stored properly.
Certain vegetables naturally lend themselves to storage and are often harvested in a single, large batch rather than continuously. These include potatoes, onions, garlic, carrots, parsnips, and beets. Proper preparation, often involving a process called “curing,” is essential for maximizing their storage life and preventing spoilage from mold or rot.
A fundamental rule for storing any vegetable is that it must be dry. Surface moisture is an invitation for mold. If you plan to eat the vegetables within a few days, simply laying them out on a clean, dry surface for a few hours to air dry might suffice. However, for long-term storage, more dedicated curing is required.
- Storing Onions and Garlic: These require a significant curing period to dry out the neck and outer skins, creating a protective layer. After harvesting (ideally after tops have flopped and browned in dry weather), leave the plants intact (with tops and roots attached) in a warm, dry, well-ventilated area for 2-3 weeks. They can be spread in a single layer on screens or trays, or hung in bunches. Curing is complete when the necks are completely dry and the outer skins are papery. After curing, trim the tops and roots and store them in mesh bags, crates, or baskets that allow for good airflow, in a cool (ideally 40-50°F or 4-10°C), dark, and dry location like a basement or garage.
- Storing Potatoes: Preparing potatoes for storage starts before harvest by reducing watering in the weeks prior to toughening the skins. Harvest potatoes only after the plant’s foliage has completely died back, indicating full maturity and skin set. Carefully dig them, brush off excess dirt (do not wash!), and lay them out in a single layer in a dark, humid environment (around 50-60°F or 10-15°C) for 10-14 days to cure. This allows any minor skin damage to heal and further toughens the skins. After curing, store potatoes in breathable containers like paper bags or burlap sacks in a dark, cool (ideally 40-45°F or 4-7°C), and humid place. Darkness is crucial to prevent them from turning green and producing solanine, which is toxic.
- Storing Carrots, Parsnips, and Beets: Harvest these root crops after the tops begin to die back or the roots reach the desired size. Trim the greens immediately, leaving about an inch of stem attached, to prevent the roots from dehydrating (moisture loss through the leaves). Gently brush off most of the dirt; avoid washing unless absolutely necessary, as moisture encourages rot. While they can last a few weeks in the refrigerator in a plastic bag to maintain humidity, for longer storage (several months), they are best kept in layers of damp sand or sawdust in a cool (close to freezing, 32-40°F or 0-4°C) and humid environment. Some varieties of carrots and parsnips can also be successfully overwintered directly in the garden ground, protected by a thick layer of mulch, and harvested as needed throughout the winter.
 Cured onions stored in an open wooden crate allowing for airflow
Successfully storing your harvest ensures that the fruits of your labor provide nourishment and enjoyment for as long as possible, reducing waste and extending the satisfaction of growing your own food.
Harvesting homegrown vegetables is a skill that develops over time, blending general guidelines with specific knowledge of each crop and learning to read the subtle cues from your plants. By paying close attention to the signs of ripeness, harvesting at the optimal time and in the right conditions, using appropriate techniques and tools, harvesting regularly to encourage further production, and properly preparing crops for storage, you dramatically increase your chances of enjoying a consistently delicious and abundant yield. This mastery turns the moment of harvest from a potential disappointment into a reliable celebration of your gardening success. Embrace these principles, observe your plants closely, and you’ll unlock the full potential of your garden’s bounty.
Ready to apply these harvesting techniques? Explore the wide range of seeds, tools, and organic garden amendments available at Biogarden.asia to support your journey from seed to successful harvest! Share your harvesting triumphs and challenges with us – we love hearing about your gardening experiences.
Sources:
- University Agricultural Extension Services
- Horticultural Science Journals
- Experienced Gardeners’ Guides