


No products in the cart.
NEWS
Expert Guide: Starting Tomato Seeds Indoors for Bountiful Harvests
Starting tomato seeds indoors is a truly rewarding endeavor for any gardener, novice or expert. It offers significant advantages over buying nursery plants, giving you control from the very beginning and setting the stage for a more successful growing season. As someone deeply involved in the world of plants and soil, I’ve seen firsthand how nurturing a tiny seed into a robust tomato seedling right in your own home can elevate your gardening experience. Not only is it immensely satisfying, but it also allows you access to a vast array of tomato varieties often unavailable at local garden centers.
To truly master the art of growing tomatoes from seed, there are a few key principles to understand. Knowing the ideal timing for your climate is crucial for getting that essential head start. Selecting the right tomato type – one that suits your space, culinary goals, and local conditions – is another critical decision. Most importantly, providing the precise care your young seedlings need will ensure they grow into strong, productive plants ready to yield a generous harvest. This guide will walk you through everything you need to know about starting tomato seeds indoors.
Why Begin Your Tomato Journey Indoors?
Choosing to start your tomato seeds inside rather than purchasing established plants from a nursery comes with a wealth of benefits that can significantly impact your gardening success and enjoyment.
Unparalleled Variety Selection
The sheer number of tomato varieties available globally is staggering – over 10,000! When you start from seed, you unlock this incredible diversity. Instead of being limited to the handful of common varieties found at retailers, you can explore unique options based on flavor, color, size, shape, disease resistance, shelf life, and even growth habit. This freedom of choice allows you to tailor your garden specifically to your preferences and needs.
Reduced Disease Risk
Seed-borne diseases are far less common than soil-borne pathogens that can sometimes hitch a ride on nursery plants. Starting with sterile seed-starting mix and clean containers dramatically reduces the risk of introducing common tomato diseases into your garden from the outset.
Cost-Effective Gardening
Seeds are considerably less expensive than purchasing individual plants. For the cost of one or two nursery starts, you can often buy an entire packet of seeds, giving you many more plants and the opportunity to experiment with different varieties.
Stronger, Healthier Plants
By controlling the indoor growing environment, you can ensure your seedlings develop a strong, healthy root system before facing the challenges of the outdoor garden. Seedlings grown indoors with proper care and lighting tend to be more vigorous and better equipped to withstand transplanting shock and environmental stressors, leading to higher yields later on.
Timing Your Indoor Seed Starting
Getting the timing right is perhaps the most critical factor in starting tomato seeds indoors successfully. Plant too early, and you’ll end up with leggy, overgrown seedlings before it’s safe to move them outside. Plant too late, and you lose the advantage of getting a head start on the season.
The general rule of thumb is to start your tomato seeds six to eight weeks before your average last frost date. This gives the seedlings ample time to grow to a suitable size for transplanting (typically 6-8 inches tall with several sets of true leaves).
To determine your planting-out date, find your area’s average last frost date. Then, plan to transplant your seedlings into the garden two to three weeks after this date. This buffer helps avoid potential damage from unexpected late frosts, which can be devastating to young tomato plants.
Therefore, the ideal window for sowing your tomato seeds indoors is roughly four to six weeks before your average last frost date. Check local extension office resources or reliable online gardening calendars to find your specific frost dates.
Selecting the Right Tomato Seeds
With thousands of options, choosing which tomato seeds to plant can feel overwhelming, but it’s also exciting! Your decision should be guided by your gardening space, how you plan to use the tomatoes, and your local climate.
A primary choice is between determinate and indeterminate varieties. Determinate (or “bush”) tomatoes grow to a specific size (usually more compact) and produce the majority of their fruit within a relatively short period (often 1-2 weeks). They are excellent if you want a large harvest all at once for canning or making sauces and don’t require much staking. Indeterminate (or “vining”) tomatoes continue to grow and produce fruit throughout the entire growing season until frost. They can become quite large and require substantial support like stakes or a trellis, but they offer a continuous supply of fresh tomatoes.
You’ll also encounter heirloom and hybrid seeds. Heirloom tomatoes are open-pollinated varieties that have been passed down through generations, typically for at least 50 years. They are prized for their unique flavors and characteristics, and you can save seeds from heirloom plants that will grow true to the parent plant. Hybrid tomatoes are created by cross-pollinating two different parent varieties to combine desirable traits, such as disease resistance, increased yield, or specific fruit qualities. Seeds saved from hybrids typically won’t produce plants identical to the parent. Both have their place in the garden depending on your priorities.
Consider your climate. If you have a shorter growing season due to late springs or early falls, look for varieties labeled as “early” or “short-season” tomatoes that mature faster. Gardeners in warmer climates might also choose early varieties to get a crop harvested before the most intense summer heat arrives.
While you won’t find specific seed sources listed here outside of general discussion about choosing seeds suitable for your needs, focusing on reputable sources known for quality and viability is key.
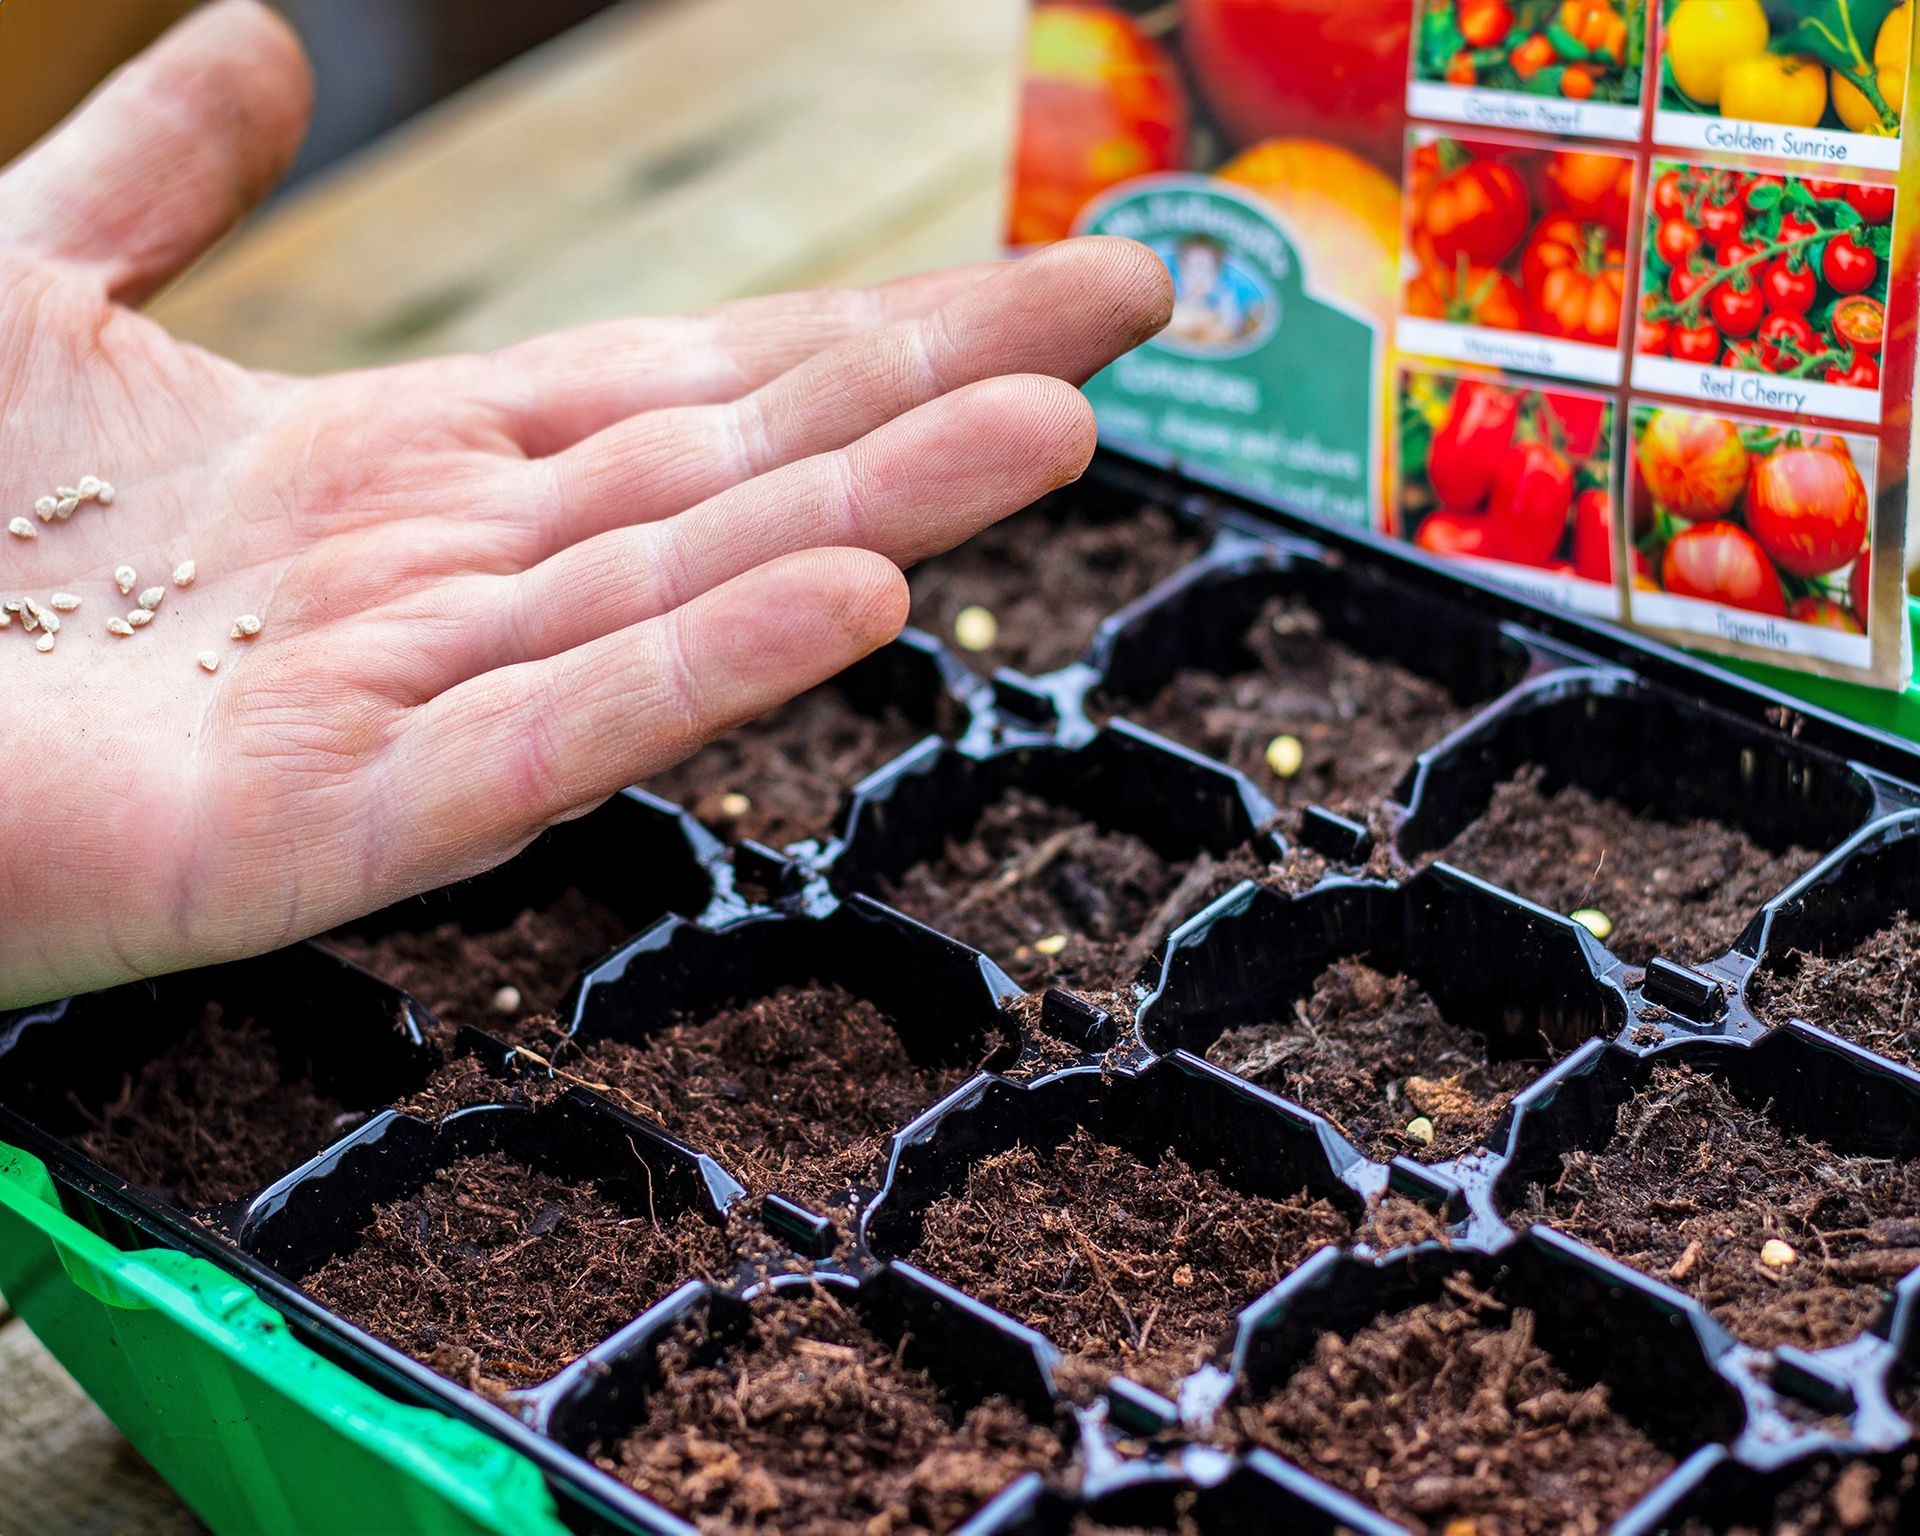 Gardener plants tomato seeds into seedling tray
How to Start Tomato Seeds Indoors – Step-by-Step
Starting tomato seeds indoors is a straightforward process once you have the right supplies and understand the basic steps.
1. Gather Your Supplies
You will need:
- Tomato seeds: Choose varieties based on your preferences and climate.
- Seed Starting Mix: A lightweight, sterile, soilless mix designed specifically for seeds. Avoid using garden soil or heavy potting mix.
- Seed Trays or Containers: Shallow containers (1-2 inches deep) with drainage holes are ideal. Individual small pots or multi-cell trays work well. Ensure they are clean.
- Watering Can or Spray Bottle: For gentle watering.
- Light Source: A sunny south-facing window is a start, but supplemental grow lights are usually necessary for strong, stocky seedlings.
- Optional but Recommended: Heating mat (helps maintain optimal soil temperature for germination), Humidity dome (clear plastic lid to cover trays and retain moisture/warmth), Larger pots (3-4 inch) for transplanting seedlings.
2. Prepare and Sow the Seeds
While not strictly necessary, soaking tomato seeds in lukewarm water for 12-24 hours before planting can help break dormancy and speed up germination. Drain the seeds just before planting.
Fill your seed trays or containers with moistened seed starting mix. The mix should be damp like a wrung-out sponge, not soggy. Sow the seeds to a depth roughly three times the size of the seed itself, typically about ⅛ to ¼ inch (3-6mm). If using multi-cell trays or individual small pots (like 2-inch size), plant two seeds per cell/pot to ensure at least one germinates. If using a larger flat, space seeds about an inch apart. It’s wise to sow slightly more seeds than the number of plants you ultimately need to account for potential germination failure.
3. Provide Warmth for Germination
Tomato seeds germinate best in warm soil, ideally between 70-80°F (21-27°C). Place your seeded containers in a warm location. A heating mat placed under the trays is highly effective. If you don’t have a heating mat, placing the trays on top of a refrigerator or near a furnace vent (but not directly in front of it) can provide enough warmth.
Cover the trays with a humidity dome or plastic wrap to help maintain moisture and temperature.
4. Maintain Moisture and Await Germination
Keep the seed starting mix consistently moist but never waterlogged. The humidity dome helps retain moisture, reducing the need for frequent watering. Check the soil moisture daily. If it feels dry just below the surface, it’s time to water.
Germination usually occurs within 5-10 days under optimal conditions. Once you see the first seedlings emerge, remove the humidity dome or plastic wrap. This is crucial to prevent fungal issues like damping off.
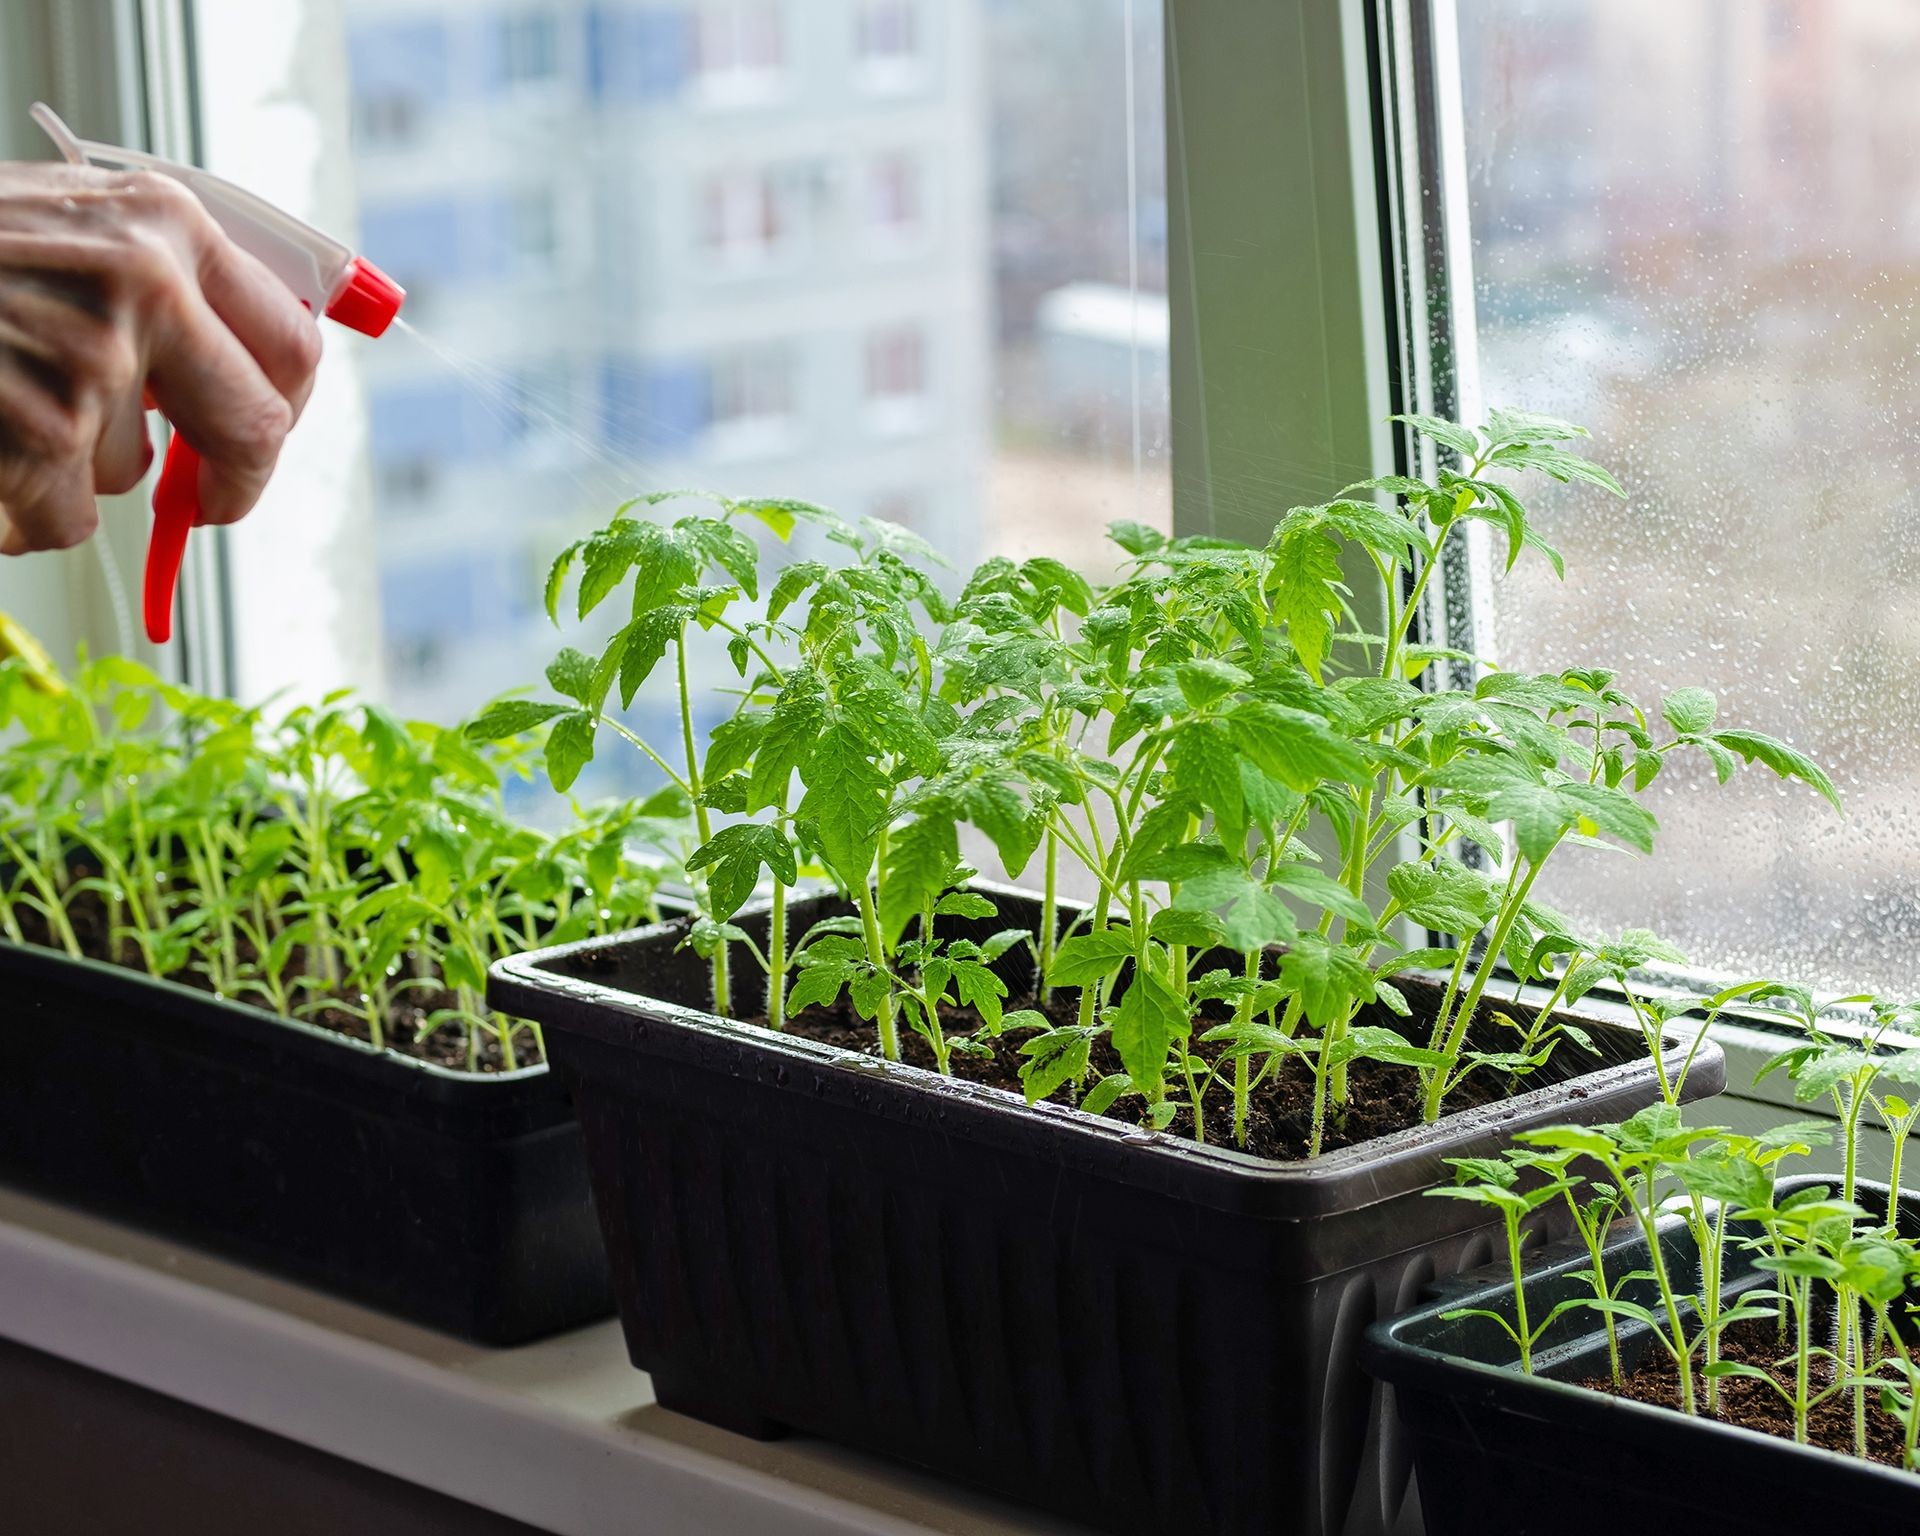 Misting tomato seedlings
Continue to keep the soil moist as the seedlings grow. Watering from below by placing trays in a shallow pan of water is an excellent method as it encourages roots to grow downwards. If watering from above, mist gently or use a small watering can with a fine rose to avoid dislodging the tiny seedlings.
5. Pot Up Seedlings
Once your seedlings have developed their first set of “true leaves” (the leaves that appear after the initial round, or cotyledons, and look like tiny tomato leaves), it’s time to transplant them into larger pots, typically 3-4 inches (8-10cm) in diameter, with drainage holes. This gives them more space to develop their root systems.
If you planted two seeds per cell/pot and both germinated, you will need to thin them. Choose the strongest-looking seedling and use a small pair of scissors to snip the weaker one off at the soil line. Do not pull it out, as this can damage the roots of the seedling you want to keep. If you planted multiple seeds in a larger tray, carefully separate them and transplant each chosen seedling into its own pot.
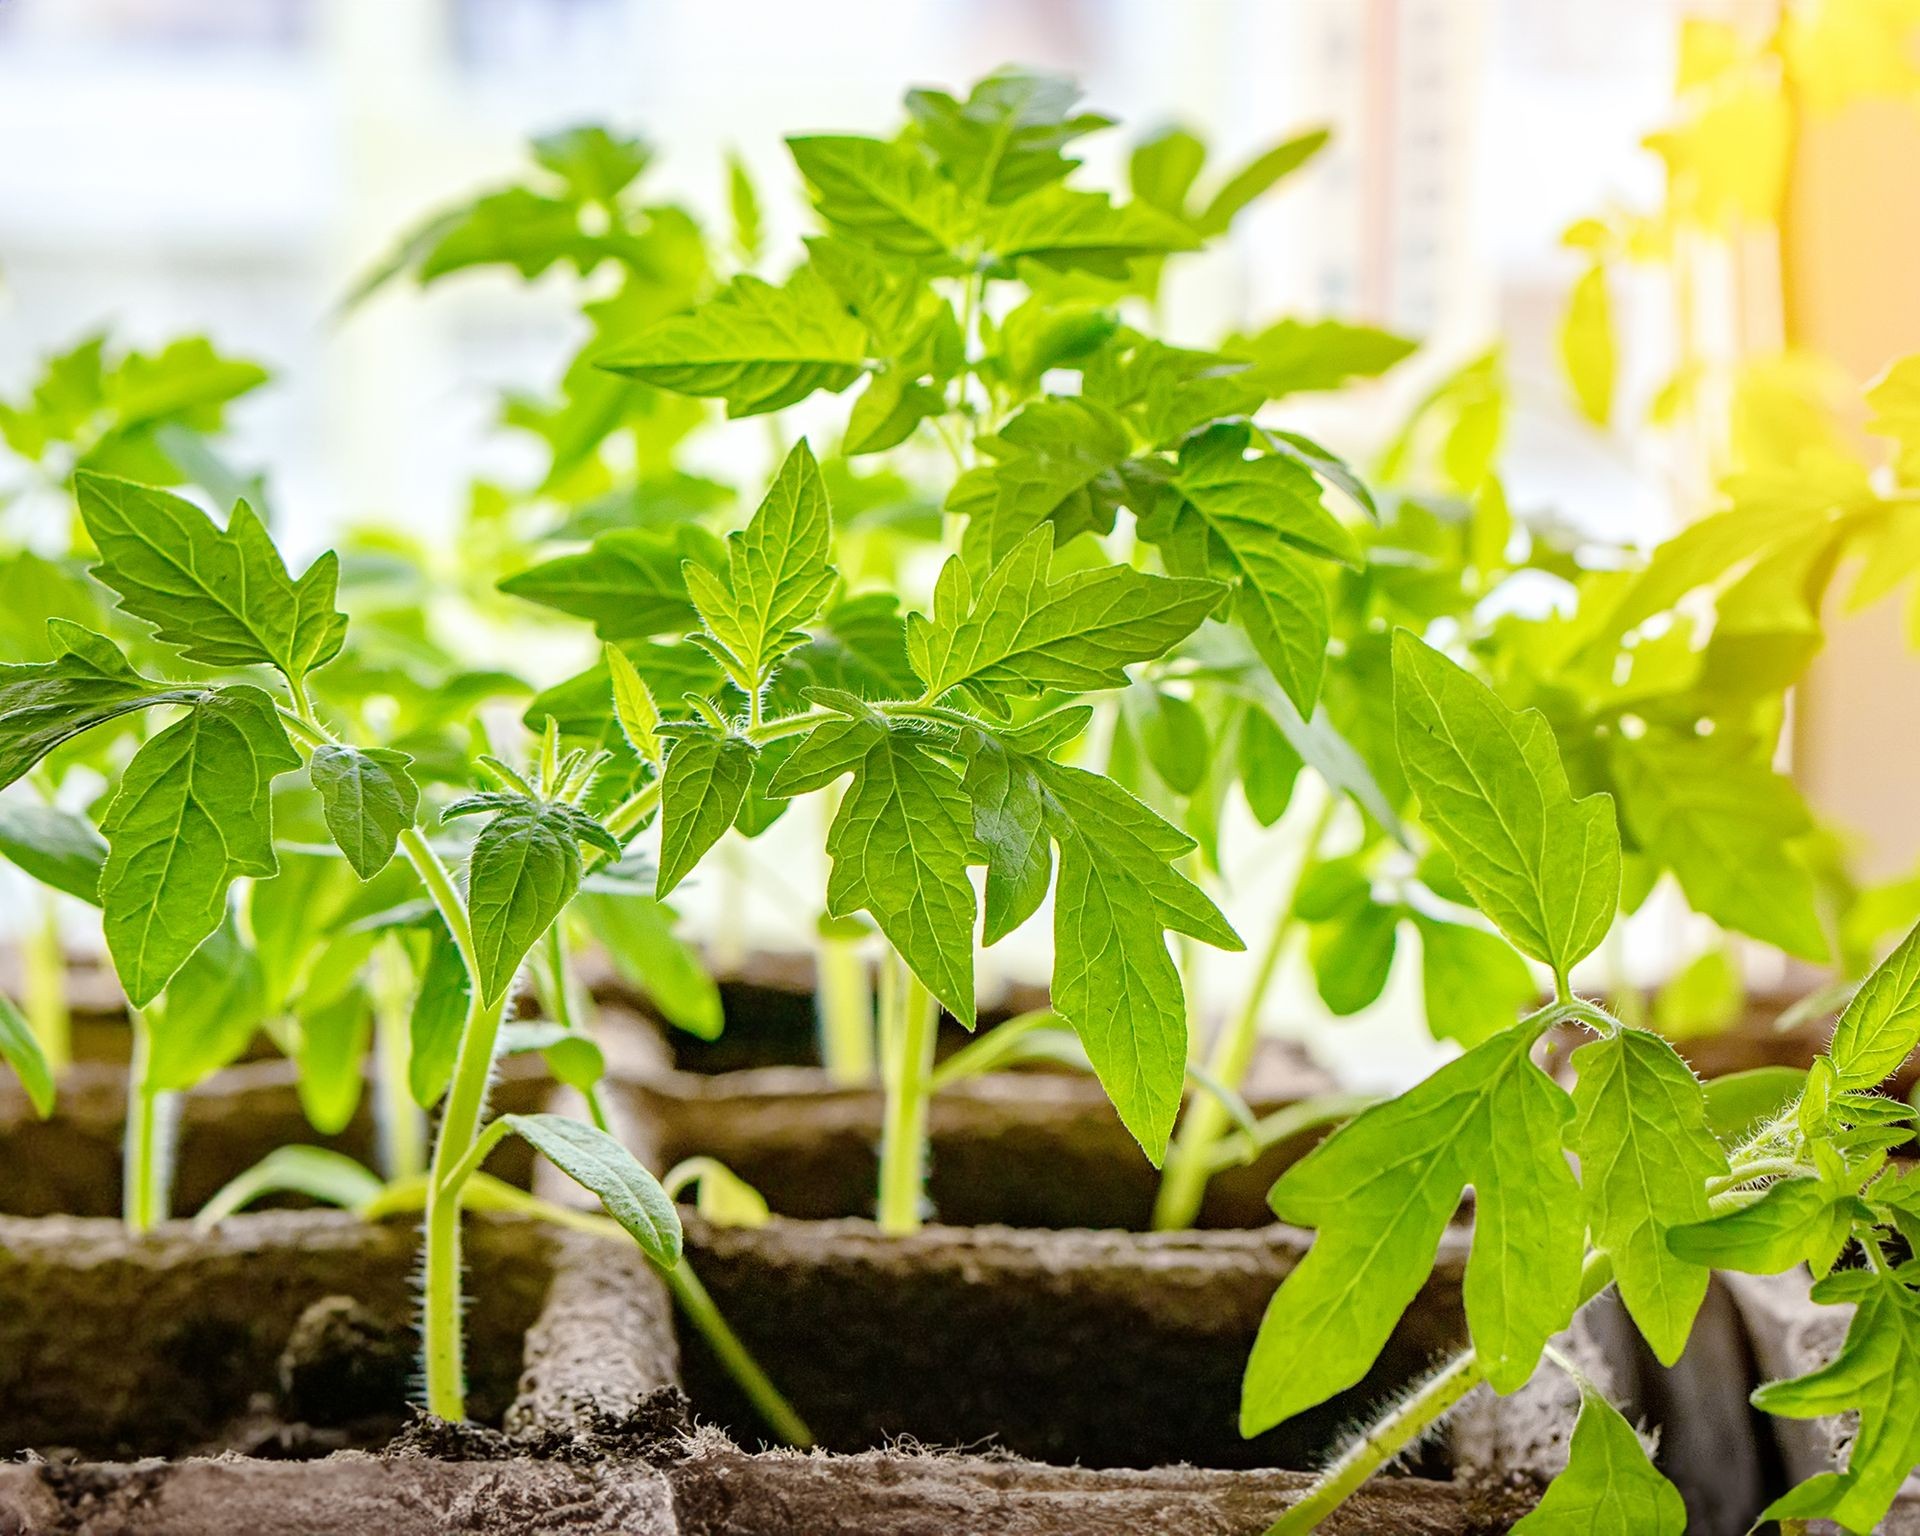 Tomato seedlings on sunny windowsill
6. Provide Adequate Light
Seedlings require significant light for healthy growth – about 12-16 hours per day. A sunny south-facing window may suffice if you live in a very bright climate, but in most cases, supplemental lighting is essential to prevent leggy, weak growth. Position fluorescent or LED grow lights just a few inches (about 3-4 inches or 8-10 cm) above the tops of the seedlings. As the seedlings grow taller, adjust the lights upwards to maintain this distance.
Seedlings that don’t receive enough light will stretch towards the source, resulting in long, thin stems that can’t support the plant later on. If your seedlings do become leggy, you can often salvage them by planting them deeper when you transplant them outdoors, as tomato stems can grow roots along the buried portion.
7. Begin Fertilizing
Once your seedlings have developed their first set of true leaves and have been transplanted into larger pots, they will benefit from a light feeding. Use a water-soluble fertilizer specifically formulated for tomatoes or general plant growth, diluted to about quarter-strength. Apply this diluted fertilizer every two weeks or according to the product instructions.
A common sign that your tomato seedlings need nutrients is if their stems or the undersides of their leaves turn a purplish color. This often indicates a phosphorus deficiency, and a feeding of diluted fertilizer should help correct it.
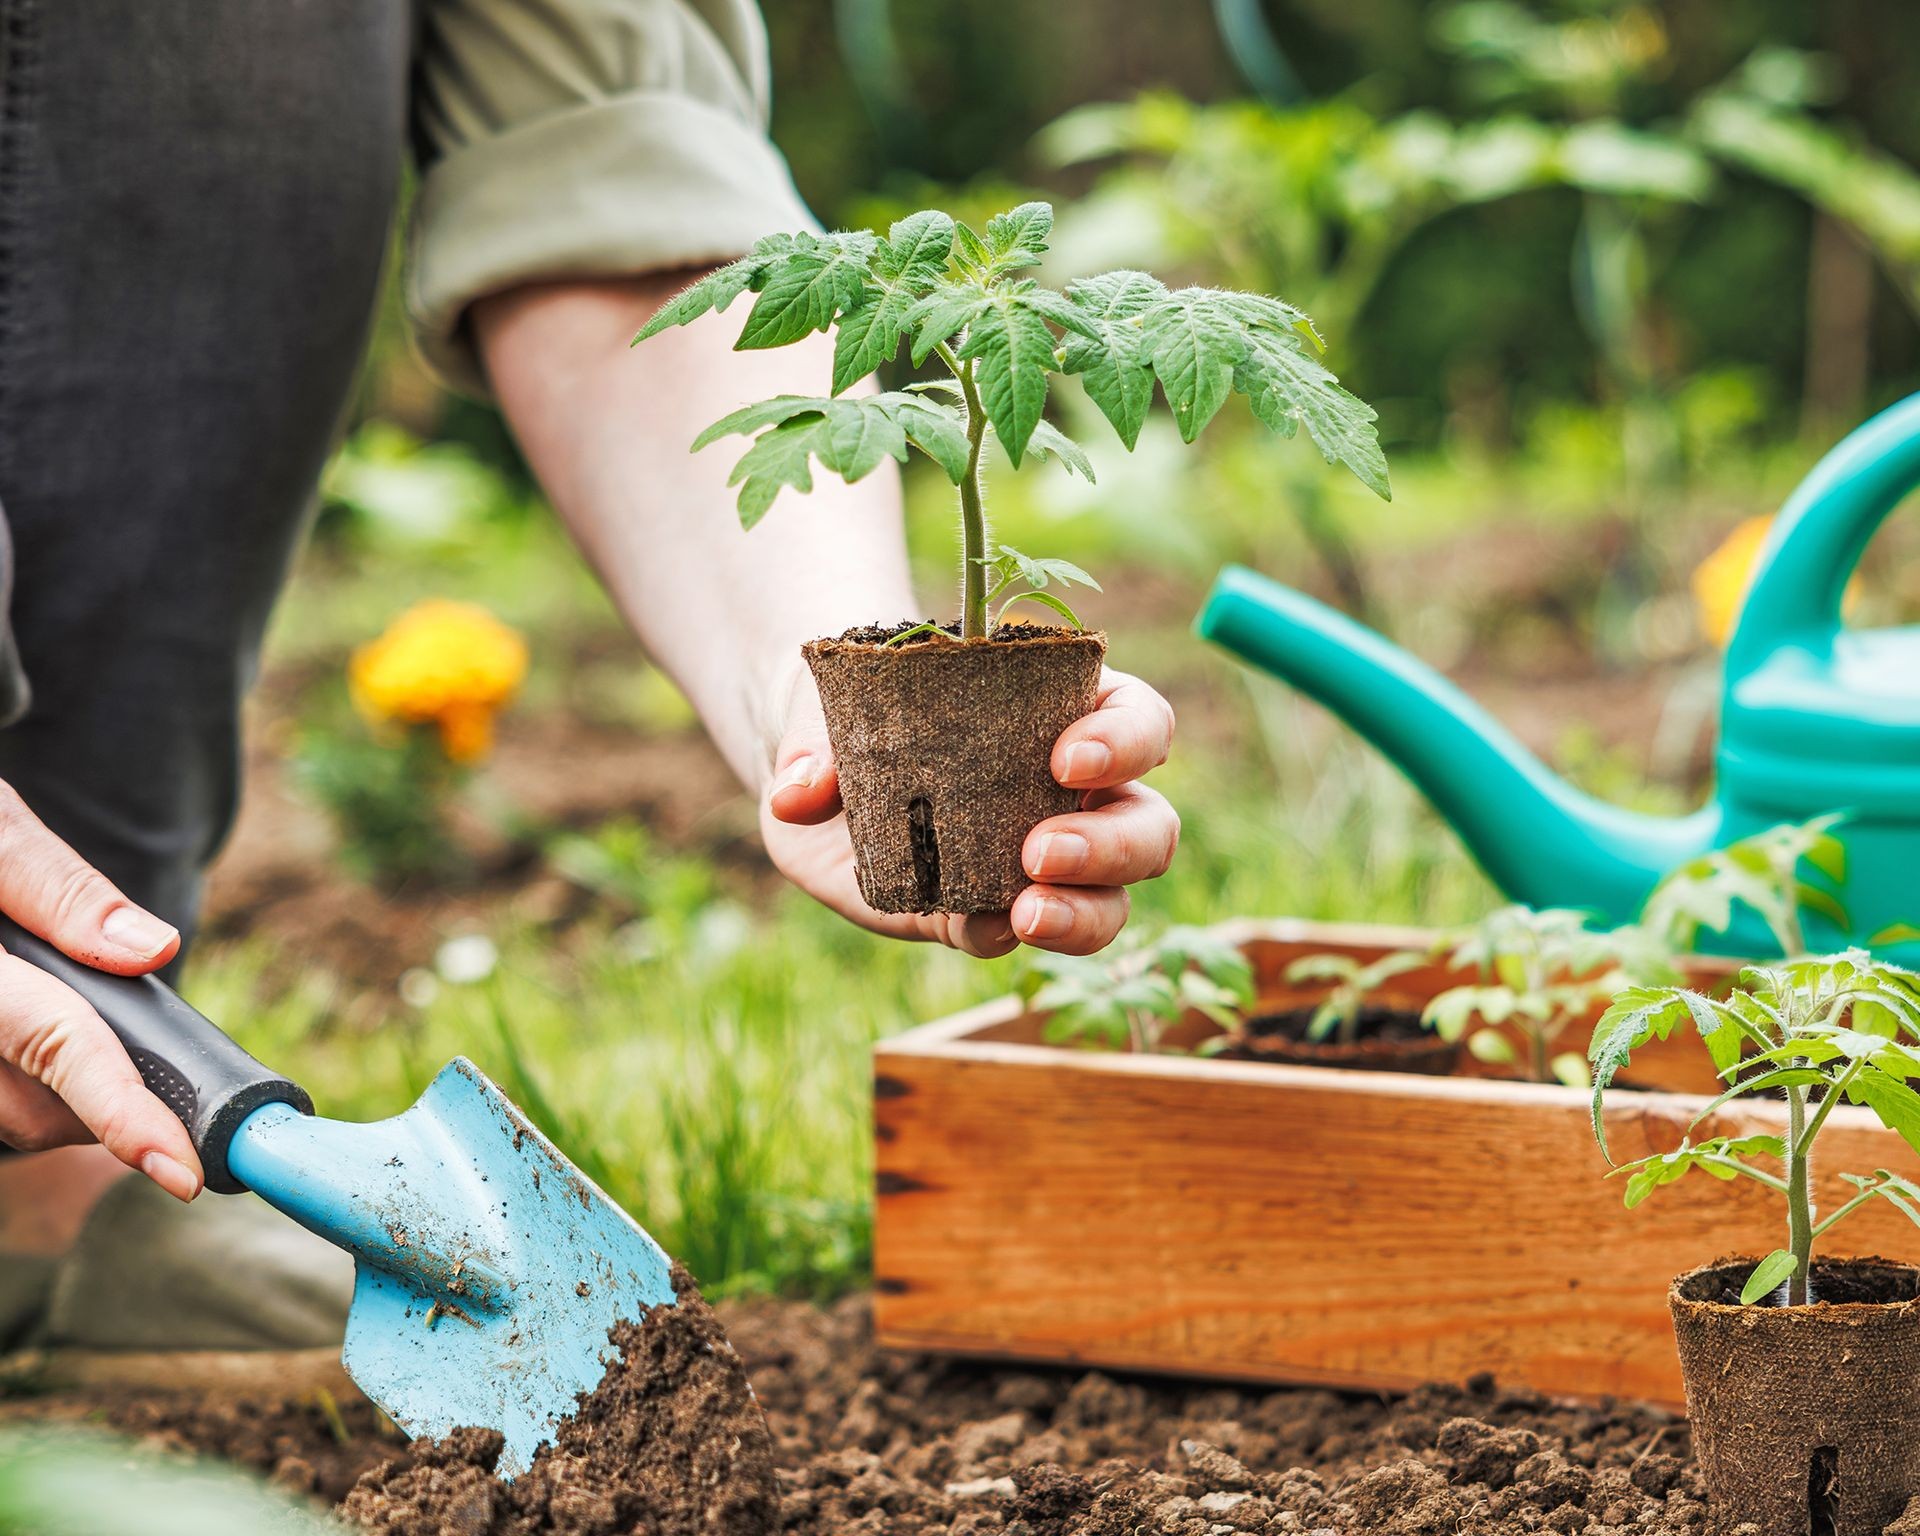 Gardener plants tomato seedling into garden soil
8. Harden Off Before Planting Out
Around 6-8 weeks after sowing, when your seedlings are sturdy and about 5-8 inches (13-20cm) tall, they need to be “hardened off” before being permanently planted in the garden. This process gradually acclimates them to outdoor conditions – direct sunlight, wind, and fluctuating temperatures – to reduce transplant shock.
Start by placing them outdoors in a sheltered spot (like a porch or under a tree) for a few hours each day. Gradually increase the time they spend outside and their exposure to sunlight over a period of 7-10 days. Bring them back indoors at night, especially if temperatures drop below 50°F (10°C).
After the hardening-off period is complete and all danger of frost has passed (typically 2-3 weeks after your average last frost date), your seedlings are ready to be planted in their final location in the ground, raised beds, or large containers. Tomato plants benefit from being planted deep – remove the lowest set of leaves and bury the stem up to that point. New roots will form along the buried stem, creating a stronger plant foundation. Choose a spot with full sun (at least 6-8 hours per day) and ensure proper spacing between plants according to the variety’s needs.
Addressing Common Tomato Seedling Issues
Even with the best care, you might encounter a few challenges when starting tomato seeds indoors. Being able to identify and address these common problems quickly is key to success.
- Poor Germination: If your seeds don’t sprout, the common culprits are usually seeds that are too old or non-viable, soil that is too cold, or the seed starting mix being kept too wet or too dry. Ensure you’re using fresh seeds and maintaining the optimal temperature and consistent moisture levels.
- Leggy Seedlings: This is almost always caused by insufficient light. Seedlings stretch to reach a light source that is too far away or not intense enough. Ensure your grow lights are positioned close to the seedlings and provide 12-16 hours of light daily.
- Stuck Seed Coat: Occasionally, a seedling emerges with the seed coat stuck to its first leaves, preventing them from opening. This can happen if the seed wasn’t planted deep enough or the soil was too dry. Gently moisten the seed coat with a drop of water to soften it, then carefully try to remove it with tweezers if needed.
- White Fluffy Fungus: A white, cottony growth on the soil surface usually indicates too much moisture and poor air circulation. Reduce watering, ensure containers have good drainage, and increase airflow by using a small fan pointed away from the seedlings (to create gentle air movement, not direct blast).
- Damping Off: This devastating fungal disease causes young seedlings to suddenly collapse and die at the soil line. It’s often caused by fungi (like Pythium or Rhizoctonia) thriving in cool, overly wet, or non-sterile soil conditions. Prevention is key: use sterile seed starting mix, clean containers, avoid overwatering, and ensure good ventilation. Once damping off appears, it’s best to discard affected seedlings and soil and sterilize containers before starting again.
- Seedling Diseases: Although less common indoors than outdoors, seedlings can still be affected by diseases presenting as spots, wilting, or discoloration on leaves and stems. Ensuring good airflow, avoiding overhead watering, and using sterile supplies are the best preventative measures. If a seedling shows signs of disease, isolate or discard it immediately to prevent spread.
Understanding the Tomato Growing Timeline
From seed to harvest, the tomato journey takes time, and starting indoors is just the first phase.
- Germination: 5-10 days after sowing.
- Seedling Growth Indoors: 6-8 weeks from germination until they are ready for hardening off. During this time, they develop true leaves and grow to transplant size.
- Hardening Off: 7-10 days.
- Time from Transplant to Harvest: This varies significantly depending on the specific tomato cultivar, but typically ranges from 50 to 90 days. Early varieties mature faster, while many heirlooms take longer.
By starting your tomato seeds indoors, you effectively shave off 7-9 weeks from the total time needed, allowing for an earlier and potentially longer harvest season.
Embrace the Rewarding Journey
Starting tomatoes from seed indoors is a fundamental skill that empowers you to explore a vast world of tomato varieties beyond what’s commercially available. It’s a process that requires attention and care but offers immense satisfaction as you watch tiny seeds transform into vigorous young plants under your guidance. With the right knowledge and techniques outlined here, you are well on your way to cultivating robust tomato seedlings that will thrive in your garden and reward you with delicious, homegrown fruit.
Ready to embark on this fulfilling gardening adventure? Find everything you need to get started on your tomato growing journey at Biogarden.Asia.